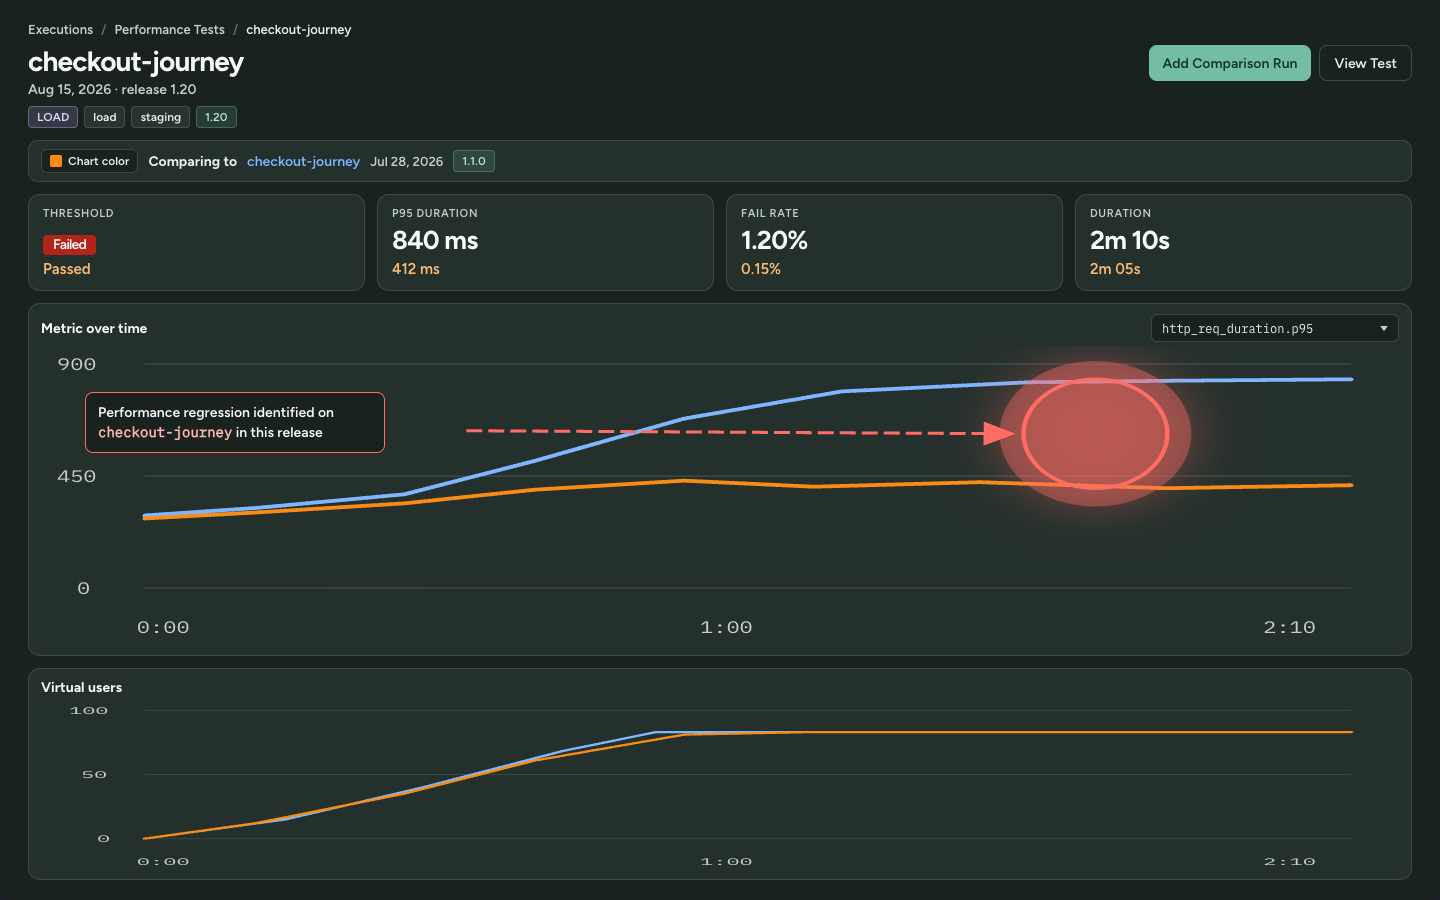
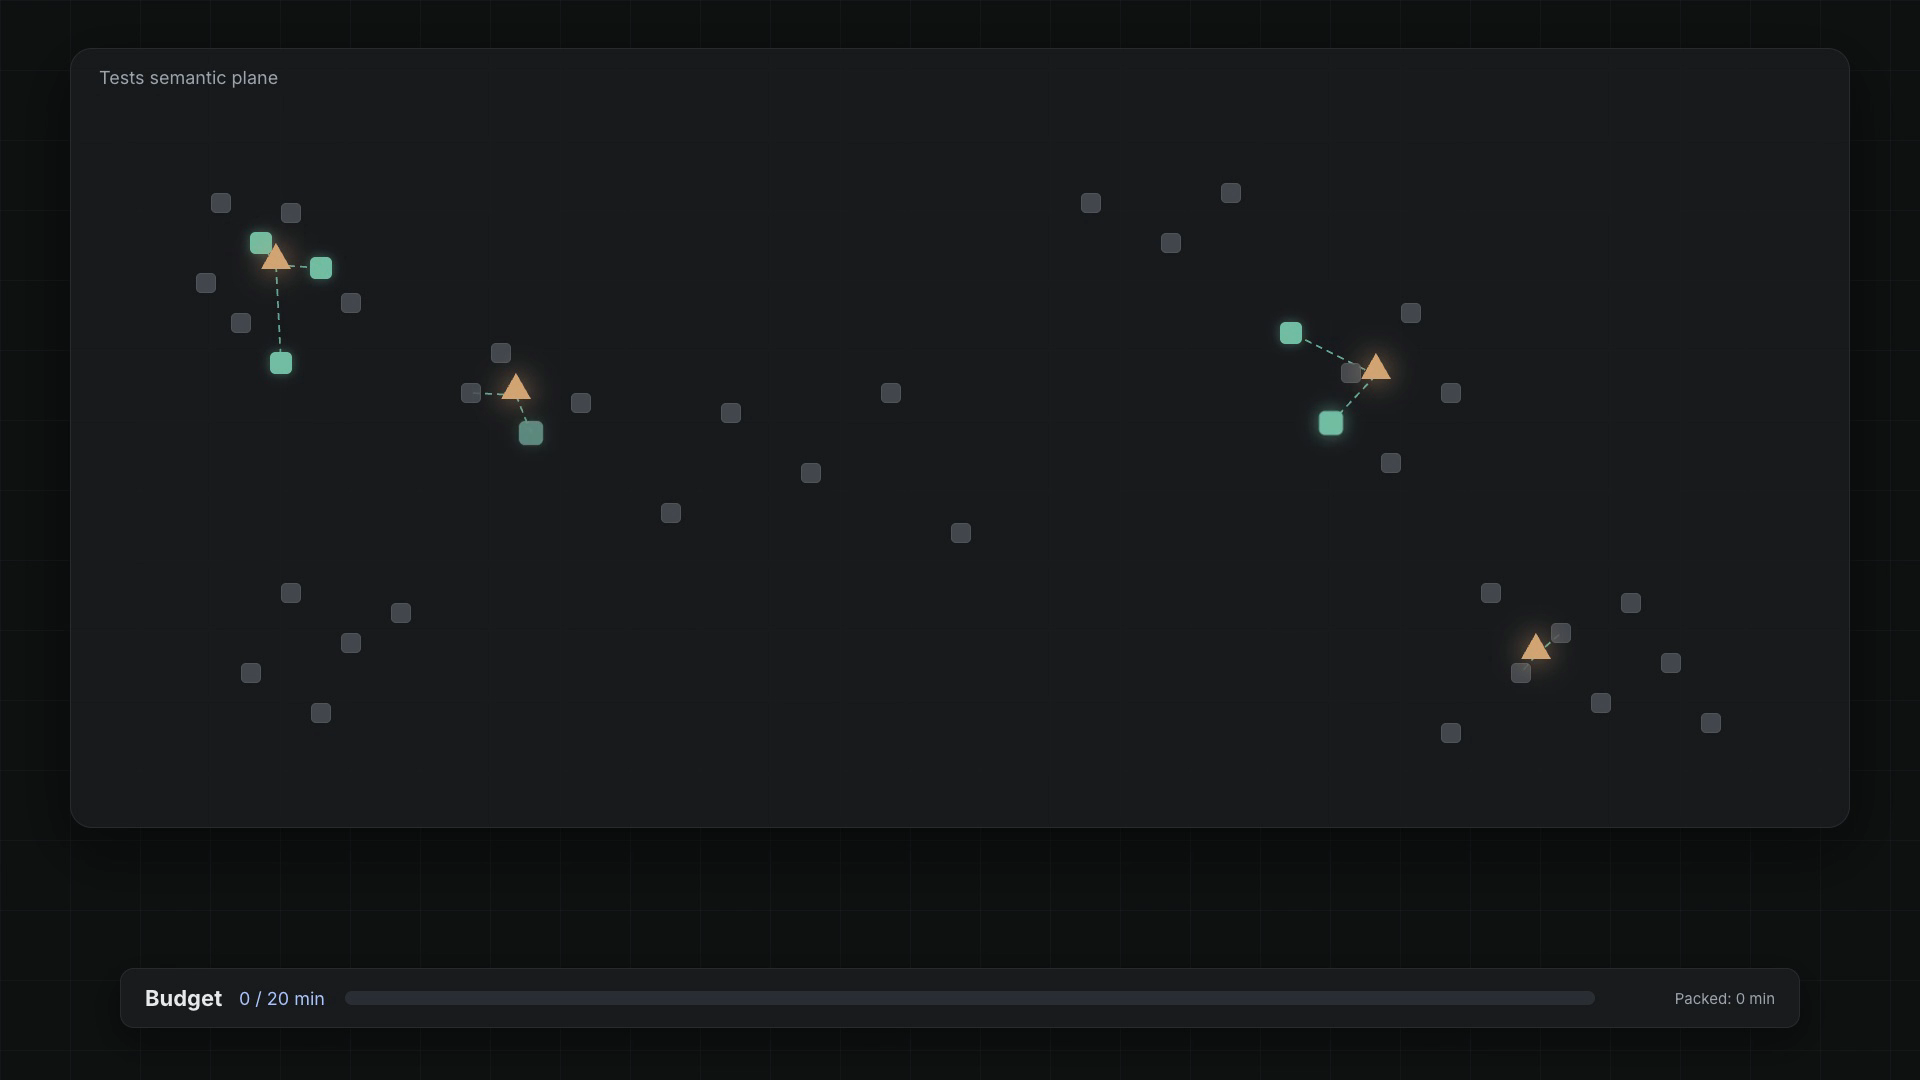
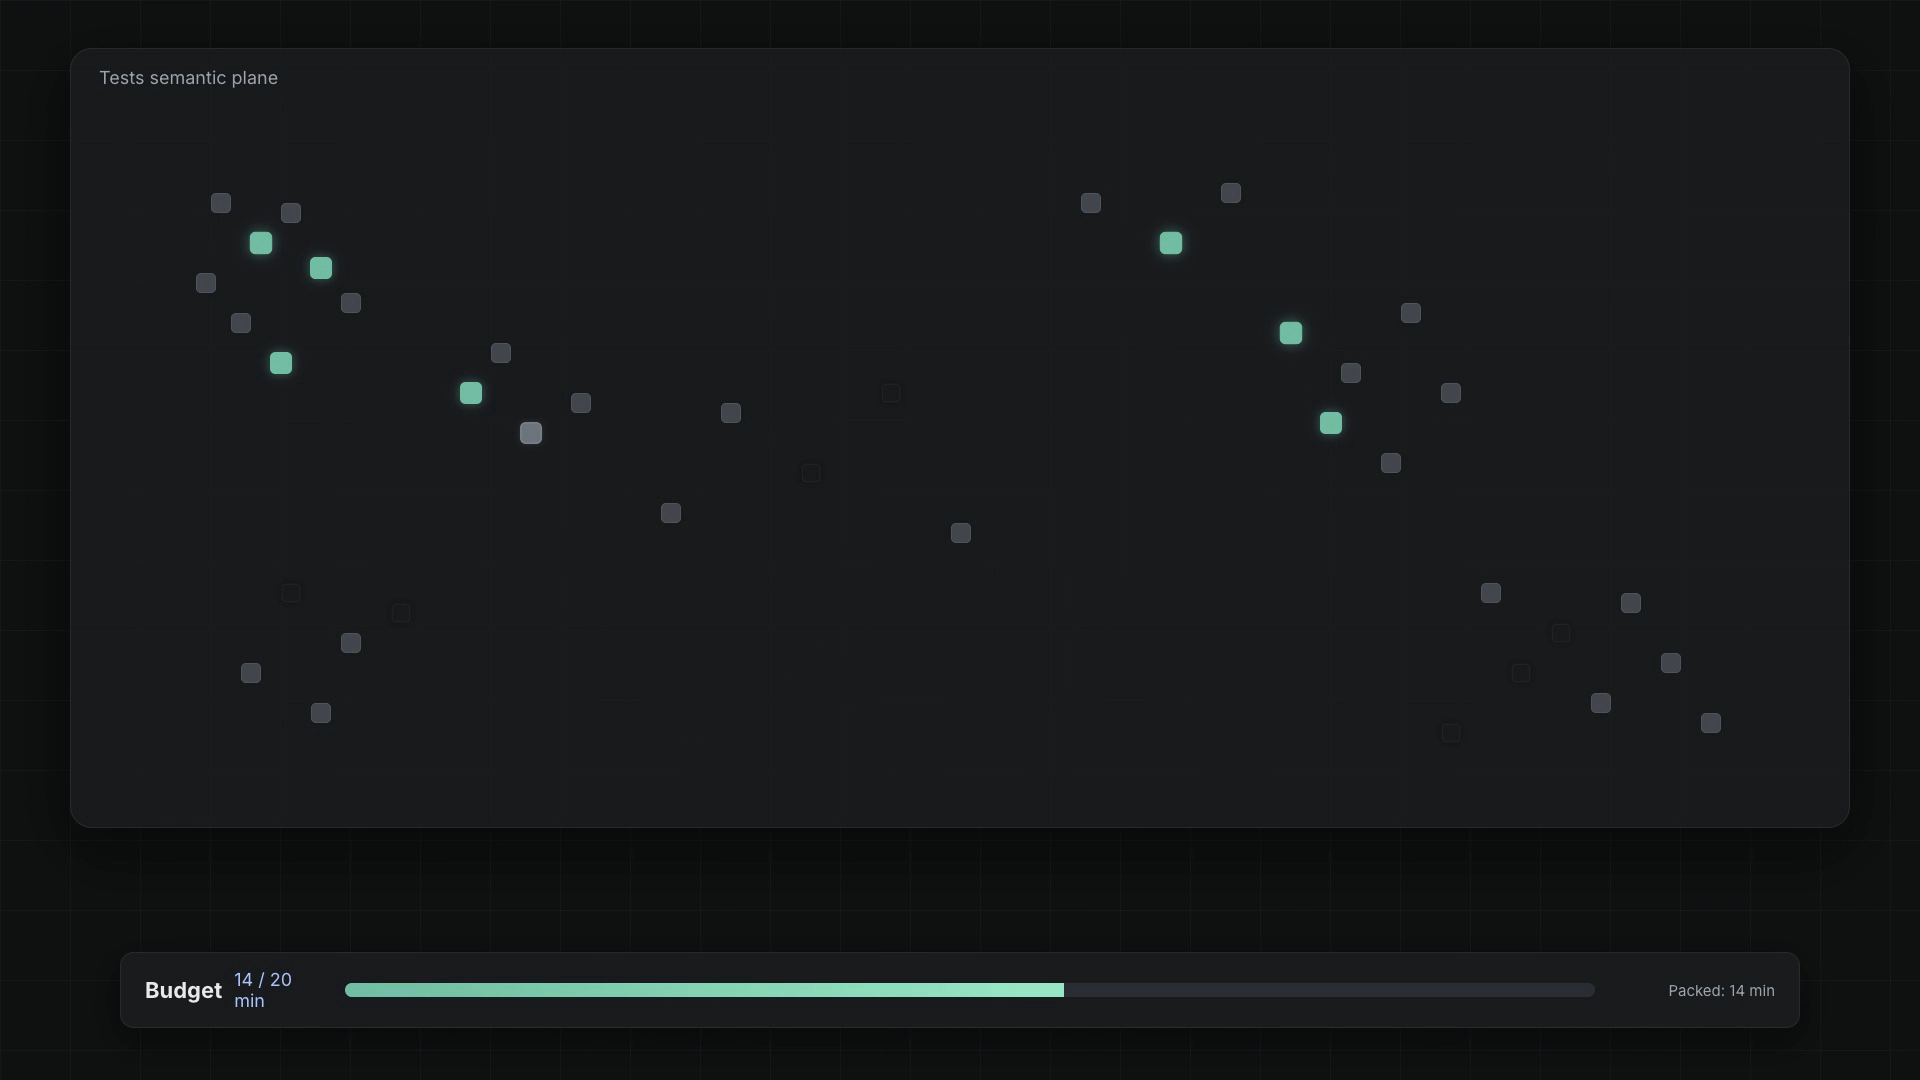
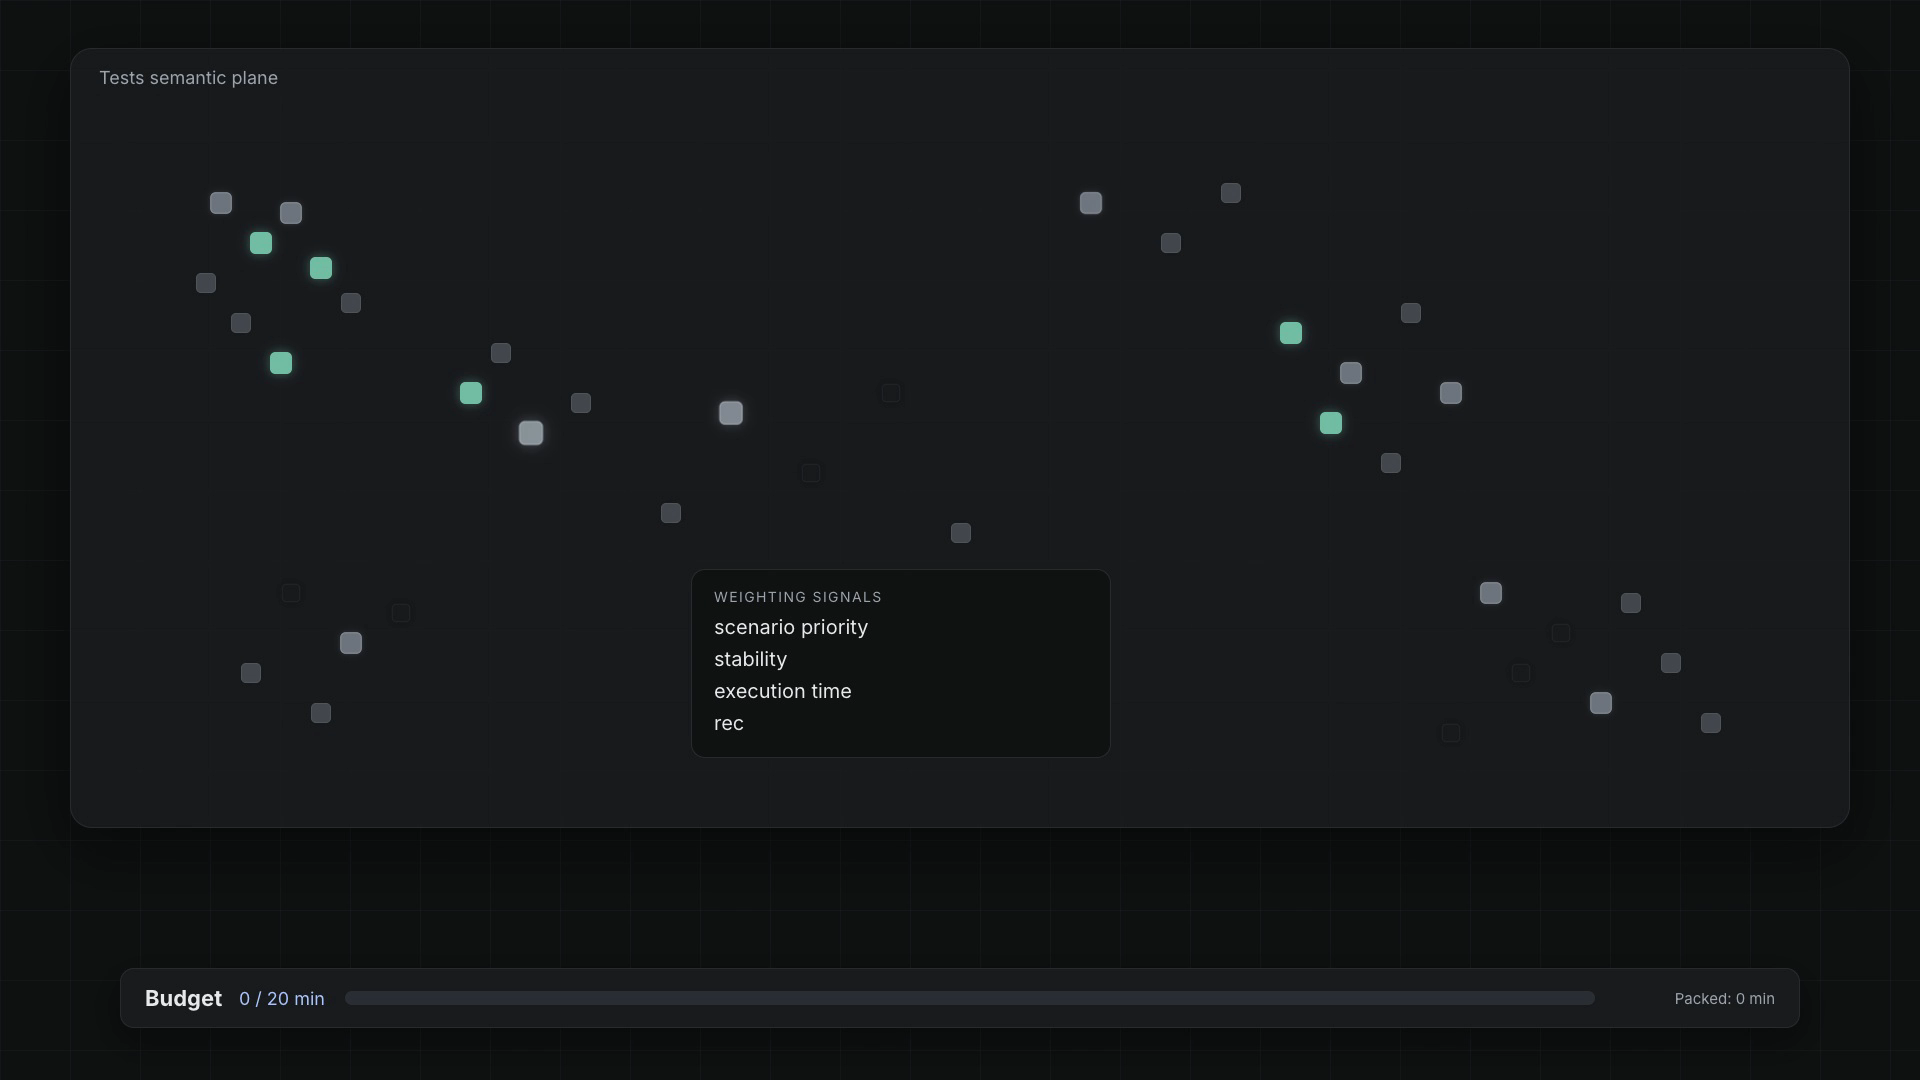
11 posts tagged with "Announcement"

Announcement tag description

View All Tags

TestChimp now supports native mobile testing

· 4 min read
Nuwan Samarasekera
Founder & CEO, TestChimp

TL;DR: TestChimp now supports native mobile app testing on both iOS and Android. This brings the same seamless workflow we unlock for your web testing - just say "/testchimp test".

TestChimp native mobile testing support


What shipped

Mobile is not a separate product bolted on the side. It is the same plan → repo → agent → CI loop you use for web SmartTests, extended to native apps via Mobilewright—a Playwright-style API and toolchain for iOS and Android.

Create a TestChimp project with project type iOS or Android, connect Git for your plans and tests folders, install the TestChimp skill on Claude or Cursor, and after each PR say /testchimp test. The platform keeps doing what you expect: wiring RUM, reading scenarios, closing coverage gaps, and surfacing analytics—now on screens that live inside your app, not only in the browser.

For setup details and parity tables, see Mobile testing (iOS and Android).


Five value props for Claude-based test authoring—four are live on mobile

TestChimp’s agentic QA model rests on five pillars. On native mobile, four are fully supported today:

Value propWhat it gives youMobile status
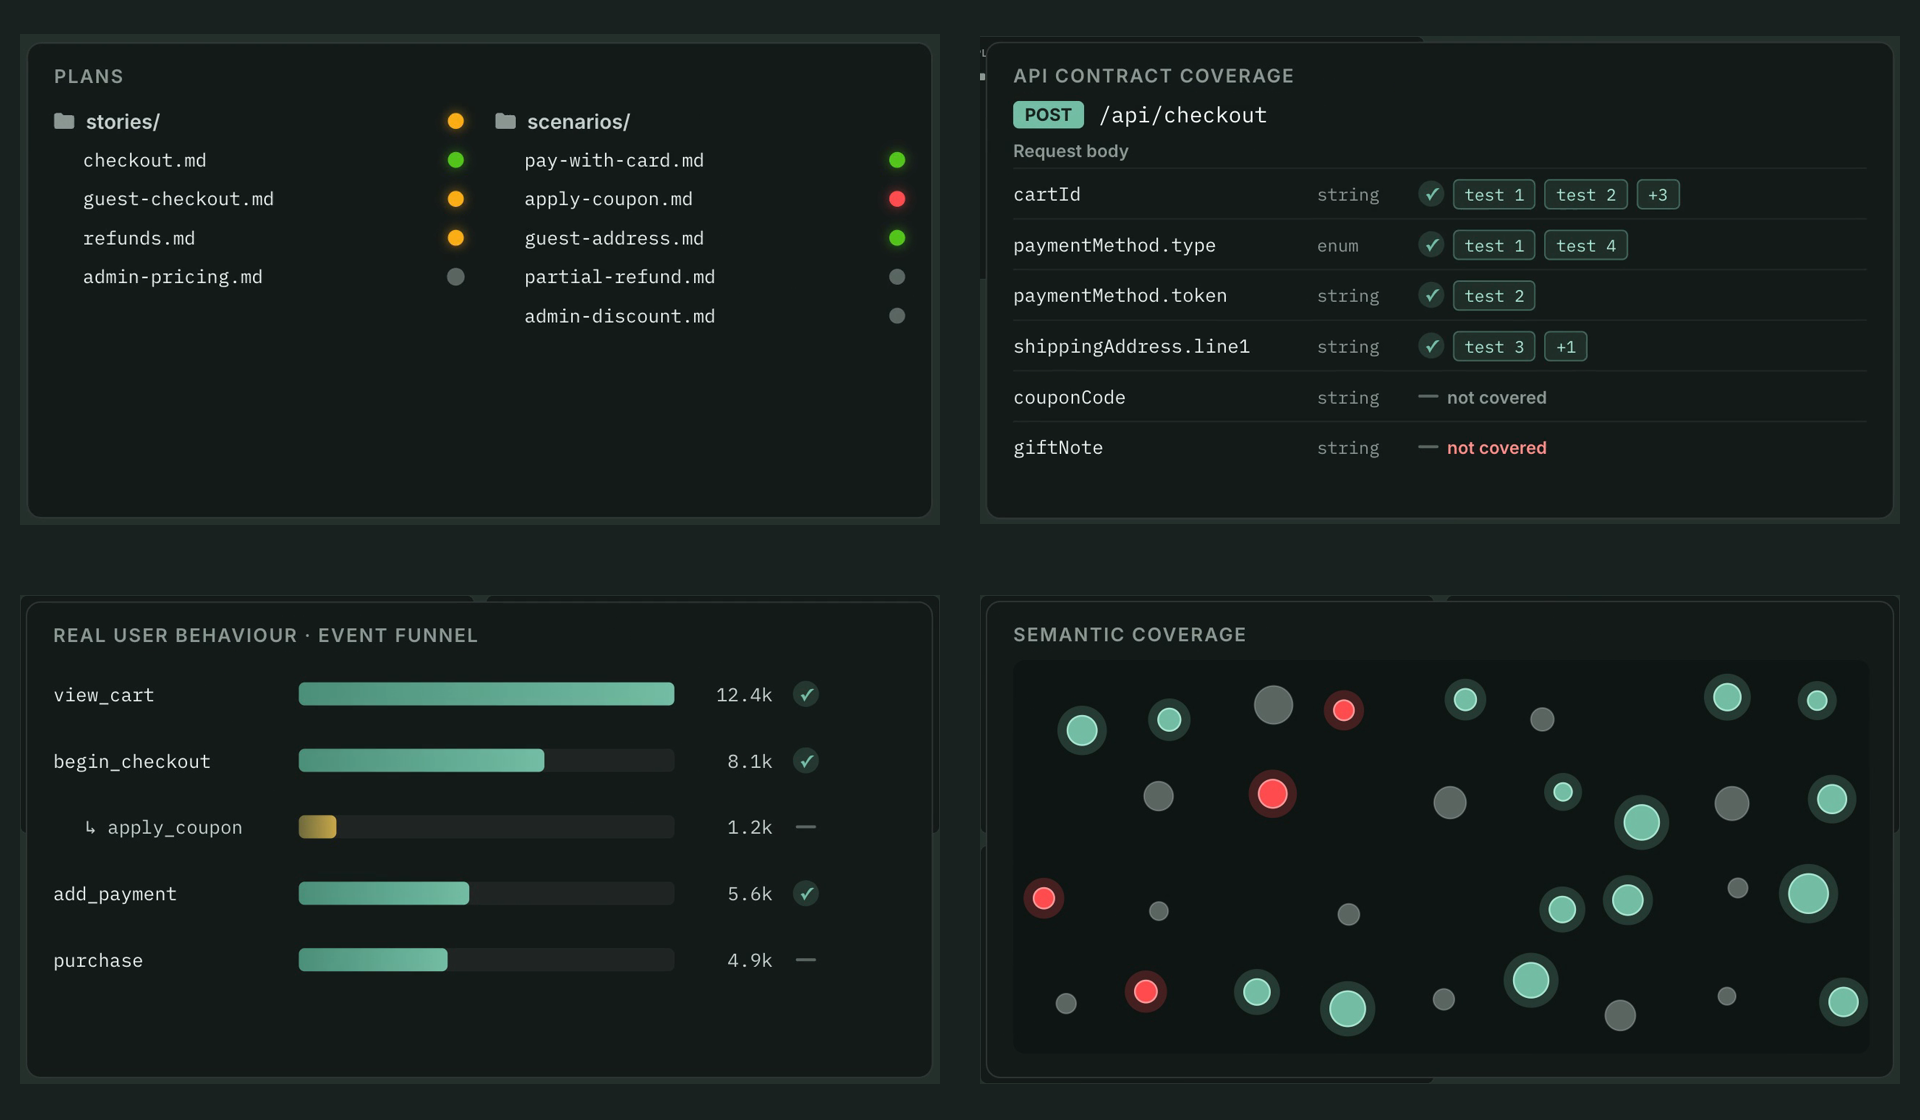
Requirement traceabilityPlans ↔ tests feedback loop; scenarios stay linked to coverageSupported
TrueCoverageReal user behaviour ↔ tests feedback loop; production informs what to automateSupported
QA workflow executionSeed/probe endpoints, fixtures for reusable world-states, test authoring, scenario linkingSupported
ExploreChimpAnalytics on screenshots, logs, and network from exploratory runsSupported
Smart StepsIntent-based steps in test scripts (ai.act, ai.verify, …)Not yet

Smart Steps remain web-only for now. Native mobile tests use standard Mobilewright APIs for UI interaction—the same deterministic, async execution model you know from Playwright, without the intent-comment layer on top.

Everything else—the closed loops between requirements, production behaviour, fixtures, and tests—carries over.


The same seamless workflow as web

You do not need a new playbook. The habit stays the same:

  1. Install the TestChimp skill on Claude or Cursor.
  2. After each PR, run /testchimp test (or your team’s equivalent in the agent host).

TestChimp then orchestrates the work you would otherwise stitch together manually:

  • RUM libraries — Wire up testchimp-rum-ios and testchimp-rum-android so production and test runs speak the same event vocabulary.
  • Instrumentation — Understand real user behaviour: segments, interaction flows, and scenarios—not just “the app launched.”
  • Plans and stories — Read markdown scenarios, pull requirement traceability insights, and see what is still untested.
  • Test authoring — Author Mobilewright tests to cover gaps, with traceability annotations where your plan expects them.
  • Spot analytics — Run ExploreChimp-style analysis on new screens: visuals, logs, network.

You still get continuous transparency of QA posture in one platform—requirements, coverage, failures, and exploration—whether the surface is a browser tab or a native view controller.


Familiar tests, less flakiness

Mobile tests are authored in a Playwright-familiar style via Mobilewright: auto-waits, async execution, and fixtures that behave like the ecosystem you already trust on web. That consistency matters when agents (and humans) move between repos that ship both web and mobile.

Fair credit where it is due: the reliability characteristics of that execution model come from Mobilewright—and we are grateful they exist. Mobilewright moved our timeline for serious native support forward by at least a year. If you need cloud-hosted real devices in CI, Mobile Use integrates with the same stack.


What to do next

If you are already on TestChimp for web, create an iOS or Android project, point Git at your plans and tests folders, and run /testchimp test on your next mobile PR. Smart Steps will follow; the feedback loops you care about for shipping quality are already there.

SKILLs are becoming SaaS’s best distribution hack (here’s why)

· 3 min read
Nuwan Samarasekera
Founder & CEO, TestChimp

For years, the hardest part of selling a complex technical product was not the demo—it was the learning curve. Buyers had to internalize workflows, edge cases, and “the right way” to use each feature before they could reliably get value.

That is changing fast. Agent Skills—portable folders of instructions, checklists, and resources that teach an AI agent how to work with your product—are starting to look like one of the most attractive distribution mechanisms for technical SaaS. Instead of hoping every customer reads the docs in the right order, you ship a repeatable operating procedure the agent can follow on demand.

A skill turns every “new user” into a “power user”

A well-designed Agent Skill effectively turns every user into a power user: one that knows which workflows to follow, how to use the product correctly, and how to extract maximum value from every feature.

That compresses time-to-value—the path to the “aha moment”—because the agent is not improvising from vague prompts; it is executing your intended playbook.

What we are seeing at TestChimp

We have been seeing this firsthand since launching the TestChimp Agent Skill.

For teams, the workflow is intentionally simple:

  1. Author a few user stories (or import from Jira).
  2. Install the TestChimp skill on your coding agent.
  3. After each PR, simply say /testchimp test.

The skill teaches Claude how to coordinate with TestChimp to:

  • instrument the app for TrueCoverage,
  • fetch and interpret coverage gaps,
  • write tests that addresses the gaps and link them to scenarios correctly,
  • run targeted exploratory testing to catch UX issues,
  • and use AI-native test steps in tests where they help.

The upgrade loop: your perfect user ships with your product

The best part is what happens when you ship new features.

With a properly designed, self-updating TestChimp Agent Skill, your "user" continuously learns your latest workflows, capabilities, and best practices—and applies them the way you intended. Your agent-side “instruction manual” can move as fast as your product, without requiring every human user to re-read release notes and learn every new capability you ship.

If you are building technical SaaS in the agent era, the product surface area is no longer only your UI and APIs. It is also the skill: the packaged expertise that turns your users in to power users.


References and further reading

Authoritative guides and registries for Agent Skills (format, discovery, and ecosystem):

Boiling the lake - QA style

· 3 min read
Nuwan Samarasekera
Founder & CEO, TestChimp

Boil the lake - credits: https://garryslist.org/posts/boil-the-ocean

Garry Tan recently introduced a simple but powerful idea: The old adage “don’t boil the ocean” is bad advice in the AI agent era. Well - at the very least, “lakes” are now very much “boilable”.

The core insight is: AI compresses certain work by orders of magnitude. That doesn’t just make things faster - it fundamentally changes what’s feasible.

Most people ask the wrong question:

“What existing human workflows can we speed up with AI?”

That’s incremental thinking. The real leverage comes from asking:

“What powerful workflows did we avoid entirely because they were too expensive to do with humans?”

Those are your “lakes”. And with AI, many of them go from infeasible → trivial.


The QA lake

In QA - making “test authoring faster” is akin to the former. The bigger ROI lies in the granular workflows that get unlocked now that agents can take autonomy in your test automation.

The Big Idea:

Could agents execute a workflow - where they continuously monitor “planned reality” (user stories / scenarios) and “production reality” (real user behaviour patterns) to improve the “tested reality” (test suite + test infra) - in a continuous feedback loop. All of it done in the background - looping you in for approval of plans it makes.

Feedback Loop enabled by TestChimp

This is exactly the future we were building TestChimp for - where agents participate in each phase of QA; where agents access real world insights / plan artifacts to self-direct its work strategically.


Claude + TestChimp

Today, we are adding the final piece of the puzzle: A SKILL that you can install on Claude / Cursor that enables just that.

  • In TestChimp, test plans are already maintained as Markdowns in repo - directly accessible to agents.
  • Requirements are linked to tests via in-code comments - that Agents can author.
  • Test executions are auto-tracked by our Playwright plugin
  • Event ingests are tracked across prod and test - to generate TrueCoverage insights.

The Skill “upskills” Claude to read those insights via our CLI / MCP, to plan and execute the entire QA workflow:

  • Understand coverage gaps, prioritize (using signals exposed by TestChimp) and plan
  • Author fixtures that emulate real-world situations observed
  • Update test infrastructure (seed / probe endpoints) as needed
  • Author tests - (provisioning PR-local envs to test in and validating tests work)
  • Update instrumentations to learn about real user behaviour (for future cycles - covering new user journeys introduced)

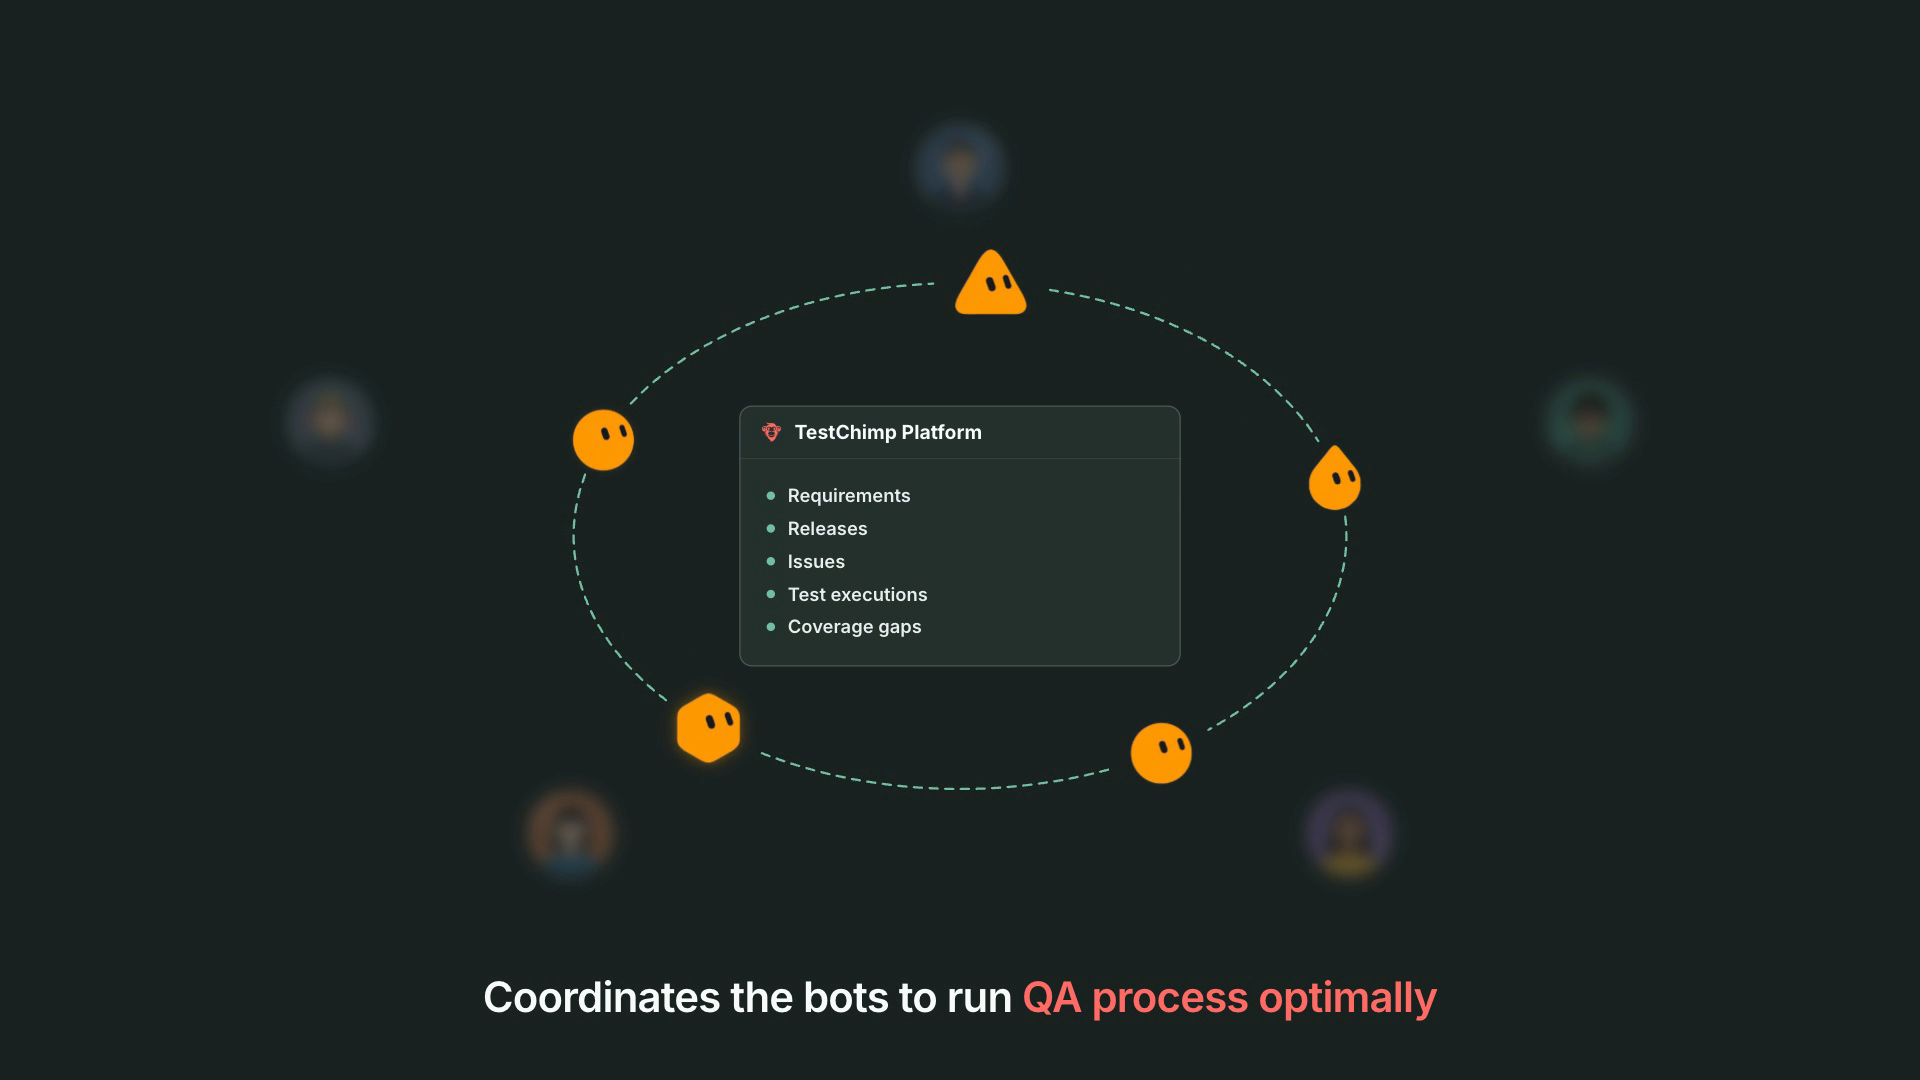
QA workflow orchestrated by TestChimp - Overview


The best part: All of this is condensed to just 2 commands - enabling a frictionless DevX:

  • /testchimp test -> (Run after each PR) Updates plans, authors seeds / fixtures, author tests, validate them in PR scoped isolated environments, instrument code for TrueCoverage

  • /testchimp evolve -> (Run periodically / on deploy) Audits test coverage aligned with requirements and real-user insights, to “evolve” your QA infra & test suite to cover critical under-tested areas and do corrective actions & run targeted exploratory runs.


Claude can write tests. With the right feedback loop, it can fully manage an effective, self-evolving QA posture that de-risks your product continuously. This is what TestChimp enables, by making each phase of QA agent-native, informed by requirements and real user behaviour insights, in a tight feedback loop.

Shift-Left with Git Branch-Aware Testing

· 4 min read
Nuwan Samarasekera
Founder & CEO, TestChimp

The traditional QA bottleneck is a well-known pain point for modern development teams. For years, the industry has pushed to "shift-left" – to move testing earlier in the development lifecycle. However, a major technical hurdle has always remained: the environment gap.

When QA happens on a global "staging" environment or only after code merges to the main branch, the feedback loop is too slow. Bugs found post-merge cause expensive context-switching for developers and delay releases.

Today, we’re bridging that gap. We’ve added full branch awareness to the TestChimp platform, enabling true shift-left testing at the PR level.

Shift-Left Git Testing

Why Branch-Aware Testing?

Branch-aware testing means your QA process mirrors your Git workflow. Instead of testing "the app," you test the "feature-in-progress."

1. Test Authoring at the Feature Level

You can now switch between repository feature branches directly within TestChimp. File versions are maintained per branch, allowing QAs to sync with branch-specific remote content.

Most importantly, QAs can author tests and raise Pull Requests from TestChimp that merge directly into the feature branch. This ensures that by the time a developer is ready to merge their code, the corresponding tests are already part of the PR.

[!TIP] Security & Outsourcing: Our new GitHub App-based approach means you don't need to give external QA resources full repository access. They can work exclusively on the tests and plans folders (with PRs raised via TestChimp platform), maintaining a tight security posture.

2. Branch-Specific Test Execution

Gone are the days of manually pointing tests at different URLs. In your project settings, you can now configure a template string for branch-specific deployment URLs (e.g., Vercel or Netlify preview URLs).

When you run tests on a branch, TestChimp resolves the correct URL and injects it as a BASE_URL environment variable. Your scripts simply consume process.env.BASE_URL, ensuring they always target the correct preview deployment.

Branch Management UI

3. Exploratory Testing & Smart Bug Diffing

Exploratory testing is no longer a "post-release" activity. All exploratory runs can now be executed against the branch-specific deployment.

Our agents are now smart enough to report only new bugs found on the feature branch compared to the default branch. This allows you to instantly see what UX, performance, accessibility, or internationalization issues were introduced by a specific PR – before they ever touch production.

4. QA Intelligence: Sliced by Branch

In the Atlas page, you can now filter results by branch to see exactly how a specific screen or flow was affected by a PR. This level of granularity allows teams to answer the questions that actually matter during code review:

  • "What user stories are breaking in this PR?"
  • "Are unrelated scenarios being affected by these changes?"

Seamless CI Integration

If you already have a CI pipeline that generates preview URLs, TestChimp fits right in. Simply pass that preview URL as the BASE_URL environment variable in your CI action, and your tests will execute against the live branch deployment with zero extra configuration.

Strategic Planning, Tactical Execution

While test authoring and execution are now branch-aware, we’ve intentionally kept Test Planning artifacts product-scoped.

Strategy should be stable. Planning artifacts continue to sync with the repo's default branch, ensuring your high-level test coverage goals remain consistent even as individual features are developed and tested in parallel branches.

The Future is Shift-Left

By moving QA participation closer to the development phase, you’re not just catching bugs – you’re preventing them from ever reaching the main branch. Branch-aware testing turns QA from a gatekeeper into a core part of the feature development engine.

Special Purpose Testing Agents

· 3 min read
Nuwan Samarasekera
Founder & CEO, TestChimp

If you’re already familiar with ExploreChimp, you know it’s like having a driver navigate your web app for you. Guided by SmartTests, ExploreChimp scans the DOM, screenshots, network calls, and browser metrics to spot bugs that traditional automation scripts can't see.

While ExploreChimp gives you broad coverage, some problems only show up when you deliberately push specific edges.

That’s why we’re launching our "Troop of Special Purpose Testing Agents".

They’re all guided by the same SmartTests, but each agent is purpose-built to tackle a specific class of bugs.

Here is the starting line up that we are launching today:


Form Validation Tester: Meet “Deadpool”

Writing negative test cases for forms is soul-crushing work. You have to think of every wrong input a user could throw at your app, then write tests to catch it.

Form Validation Agent In Action

Our Form Validation Tester, affectionately nicknamed Deadpool, does all the heavy lifting for you. You only need to define the “Happy Path” - the correct way to fill a form. From there, Deadpool goes rogue:

  • Past and future dates
  • Negative numbers
  • Random strings
  • Whitespace-only inputs
  • Invalid data formats, like numbers in text fields

It pushes your forms to the limits to ensure your validation logic holds up - all without writing a single line of negative test code.


Theme Tester: Spot Invisible Problems

Themes are more than just aesthetic. Switching between dark mode, high contrast, or custom color palettes can break visual harmony that users expect to "just work".

Theme Agent In Action

The Theme Tester loops through all the themes your app supports, hunting for:

  • Contrast issues
  • Text visibility problems
  • Ugly color combinations

It can toggle themes via cookies, local storage, or by interacting with your app’s UI - whatever works best for your setup.


Localization Tester: No More "Lost in Translation"

Supporting multiple locales introduces a whole new set of bugs. Dates, currencies, text overflow, RTL layouts, and even cultural appropriateness can break your user experience.

Localization Agent Configuration

Our Localization Tester handles it all:

  • Detects broken translations or dangling template strings
  • Checks date and currency formatting across locales
  • Verifies layout integrity in RTL languages
  • Flags potential cultural missteps

With this agent on your team, you can support global audiences with confidence.


Screen Discovery Agent: Building Your App’s GPS

No test scripts yet? No problem.

The Screen Discovery Agent methodically crawls your app, visiting key screens. It automatically generates your initial SmartTest suite, so the rest of the troop can get to work.

Expanded Behaviour Map

tip

Note: You can easily add more user journeys with our Chrome Extension.


More Agents Coming Soon

This is just the beginning. We’re already working on more powerful agents, including: • RBAC Tester – to verify role-based authorizations work as intended • Network Resilience Checker – to see how your app behaves when connectivity gets fuzzy, backend breaks...

And we’re always looking for more ideas. If you’ve got a pain point in testing, we want to hear about it!


Ready to Try the Troop?

Stop stressing over the worst parts of testing. Let our agents handle the tedious tasks so you can focus on what really matters: building amazing experiences.

From Bug Report to Pull Request: The TestChimp x OpenHands Integration

· 3 min read
Nuwan Samarasekera
Founder & CEO, TestChimp

Let’s be honest. Finding a bug is only the start.

Then comes the context switching – reproducing the issue, digging through logs, writing a fix that doesn’t break something else…

As of today, that workflow is outdated.

Fix Bug Cover

Today, we are launching our OpenHands Integration. This isn’t just a “Chat with AI” wrapper. It is a fully automated pipeline that takes a bug found in TestChimp and turns it into a ready-to-merge Pull Request in your GitHub repository. Here is how it works, why it actually fixes things (instead of hallucinating), and how to set it up.

The "Context Gap" (Why AI usually fails at debugging)

Most AI coding agents are smart, but blind. You tell them “The cart button is broken,” and they hallucinate a fix because they can’t see the state of the application. We solved the Context Gap. When TestChimp captures a bug (whether manually or via our automated agents), we record the entire runtime reality of that failure. When you click “Fix” via the OpenHands integration, we feed the cloud agent the complete necessary context including:

  • Visual Bounding Boxes: We show the agent exactly where the bug is physically located on the screen.

  • API Payloads: The agent sees the actual network requests and response bodies that triggered the error.

  • Console Logs: JavaScript errors, warnings, and stack traces captured at the exact moment of failure.

  • DOM Context: The full element selectors and structure information.

  • Screen-State: Specifics on which screen and state the app was in.

The OpenHands agent doesn’t guess anymore. It fetches these artif acts on-demand, analyzes your codebase, and writes a precise fix.

The Workflow: One Click, Real Code

We built this for speed. Here is what the new flow looks like:

1. Spot the Bug (or Batch Them)

You can select a single bug or use the checkboxes to select multiple bugs at once. If you have five related UI glitches, select them all. The agent is smart enough to identify common issues, group them, and address them together.

2. Click “Fix”

Hit the tool icon next to the bug. TestChimp validates your config and sends the context package to the OpenHands cloud instance.

Fix Bug Screenshot

3. Watch it Work Live

This is the cool part. We pop a success modal with a direct link to the OpenHands Conversation. You can click that link and watch the agent “think” in real-time. You see it analyzing the screenshots, reading the API logs, and reasoning through the code changes.

4. Review the PR

Once the agent is done, it automatically raises a Pull Request in your connected GitHub repository. You review the code, run your CI, and merge.

Technical Setup (How to turn it on)

This feature is available now for TestChimp Teams subscribers. Prerequisites: You need an OpenHands account (cloud or self-hosted) and your GitHub repository must be connected to both OpenHands and TestChimp. Note: The repo connected in OpenHands must match the repo configured in TestChimp. Configuration Steps:

  • Go to Project Settings -> Integrations -> OpenHands.
  • Enter your OpenHands API Key.
  • Select your Installation Type (Cloud or Self-hosted).
  • Click Save Configuration.

Why this matters

We are moving from “Bug Tracking” to “Bug Killing.” By giving an autonomous agent access to on-demand artifacts like bounding boxes and DOM states, we are removing the manual labor from regression testing. Stop fixing bugs manually. Let the chimp handle it.

SmartTests Now Support The Full Playwright Ecosystem

· 4 min read
Nuwan Samarasekera
Founder & CEO, TestChimp

We’re excited to announce that SmartTests now fully support the core Playwright testing patterns and constructs you know and love. This means you can write maintainable, well-structured test suites that leverage Playwright’s powerful features while still getting all the AI-powered adaptability that makes TestChimp SmartTests special.

What Are SmartTests?

For those new to SmartTests, you can think of a SmartTest as a Playwright scripts with couple of twists:

Intent Comments:

SmartTest Steps include intent comments that describe what you’re trying to accomplish. When a test runs, it executes as a standard Playwright script for speed and determinism. But when a step fails, our AI agent steps in to fix the issue on the fly and raises a PR with the changes – giving you the best of both worlds: fast script execution and intelligent adaptability.

Screen-state annotations:

Markers that specify the screen and state the UI is at a given step in the script. These annotations are authored and used by ExploreChimp to tag the bugs to the correct screen-state in the SiteMap.

What's New: Full Playwright Compatibility

SmartTests now support all the essential Playwright patterns that help you build professional, maintainable test suites:

1. Hooks for Setup and Teardown

SmartTests now support all four Playwright hooks at both file and suite levels:

beforeAll– Run once before all tests in a suite – afterAll – Run once after all tests in a suite – beforeEach – Run before each test – afterEach – Run after each test

This means you can set up test data, initialize page objects, authenticate users, and clean up resources exactly as you would in standard Playwright tests.

2. Page Object Models (POMs)

SmartTests fully support the Page Object Model pattern, allowing you to encapsulate page interactions in reusable classes. This keeps your tests clean, maintainable, and aligned with best practices.

Example:

import { Page } from '@playwright/test';

class SignInPage {
constructor(private page: Page) {}

async navigate() {
await this.page.goto('/signin');
}

async login(email: string, password: string) {
await this.page.fill('#email', email);
await this.page.fill('#password', password);
await this.page.click('#sign-in-button');
}
}

test('user can sign in', async ({ page }) => {
const signInPage = new SignInPage(page);
await signInPage.navigate();
await signInPage.login('user@example.com', 'password123');
});

3. Fixtures for File Uploads

SmartTests support Playwright fixtures, making it easy to handle file uploads and other test artifacts. Upload your fixture files (like test data, images, or documents) under the fixtures folder in the SmartTests tab, and they will be available during test execution.

4. Playwright Configuration

SmartTests folder contains a playwright.config.js file in your project to configure the Playwright execution environment. This is essential for:

  • Browser Authentication: Set up HTTP basic auth for staging environments
  • Custom Headers: Add authorization tokens, API keys, or custom headers
  • Base URLs: Configure default URLs for your test environment
  • Viewport Settings: Set default browser viewport sizes And more: All standard Playwright configuration options

Example playwright.config.js:

const { defineConfig } = require(‘@playwright/test’);

module.exports = defineConfig({
use: {
baseURL: ‘https://staging.example.com’,
httpCredentials: {
username: ‘staging-user’,
password: ‘staging-password’
},
extraHTTPHeaders: {
‘Authorization’: ‘Bearer your-token’,
X-Environment’: ‘staging’
}
}
});

5. Test Suites with Multiple Tests

SmartTests support organizing multiple tests in a single file using Playwright’s test.describe() blocks. You can create nested suites, group related tests together, and apply suite-level hooks – just like in standard Playwright.

Why This Matters

These additions mean SmartTests are now fully compatible with Playwright’s ecosystem. You can:

✅ Write maintainable tests using industry-standard patterns like POMs and hooks

✅ Organize your test suite with proper grouping and structure

✅ Handle complex setups with configuration files and fixtures

✅ Reuse existing Playwright knowledge without learning new patterns

✅ Still get AI-powered fixes when tests fail – the best of both worlds!

Getting Started

If you’re already using SmartTests, you can start using these features immediately. Just structure your tests using standard Playwright patterns, and SmartTests will handle the rest.

For new users, SmartTests work just like Playwright tests – with the added benefit of AI-powered failure recovery & stepwise execution enabling guided exploration.

What's Next?

SmartTests continue to evolve, and we’re committed to maintaining full compatibility with Playwright’s ecosystem while adding intelligent features that make testing easier and more reliable. Stay tuned for more updates!

Got questions or feedback? We’d love to hear from you! Drop us a line at contact@testchimp.io.

The Silent Killer Churning Your Users: Slow, Janky UX

· 3 min read
Nuwan Samarasekera
Founder & CEO, TestChimp

Everyone loves to talk about “building features” and “shipping fast.” But we rarely talk about the thing that silently kills conversions, frustrates users, and destroys retention:

Performance.

Performance bugs cover

Not the “page still loads eventually” kind – but the slow, janky, slightly-off performance that users instantly notice and abandon your product for.

And the data is brutal:

  • Amazon found that a 1-second delay in page load time reduced conversions by 7%.

  • The probability of a bounce increases by 32% as load time goes from 1s → 3s.

  • Apps that invest in performance optimizations see up to 30% higher retention.

Users don’t always tell you this directly, but every UX study confirms it:

Slow, sluggish experiences are one of the most complained-about frustrations – and a top reason users bounce.

But We Already Have Automated Tests… Isn’t Our App “Tested”?

This is the dangerous assumption teams make.

Yes, you may have automation test coverage.

Yes, your flows might “functionally work.”

But functional checks don’t catch:

  • the button that feels slow
  • the layout shift that makes the user misclick
  • the subtle JavaScript bloat that accumulates over releases
  • the screen that takes 1.2s longer than it used to
  • the resource that takes long to load due to cache misconfiguration
  • the memory leak that only appears after a few steps

These aren’t textbook “bugs” so no one files them.

And because performance is subjective (“eh, feels a bit sluggish?”), rarely gets documented with hard numbers.

Result: regressions creep in release after release – until your retention chart quietly slopes downward.

Performance Bug Detection in TestChimp’s Exploratory Agent

To fix this blind spot, TestChimp’s exploratory agent now automatically flags performance and memory issues – alongside the other usability bugs it catches.

And just like other bugs it finds, every performance issue is tied to the exact screen/state it appeared in.

You get a clear map of where your app slows down, why, and by how much.

No more vague complaints.

No more guessing.

Performance bugs, accurately tracked, and backed by hard evidence.

Performance bugs in TestChimp exploratory agent

What the Agent Analyzes

The agent captures and analyzes deep browser performance metrics such as:

  • CLS (Cumulative Layout Shift) – where janky content shifts occur
  • INP (Interaction to Next Paint) – slow button responses, input lag
  • Long Tasks – heavy JS blocking the main thread
  • Large or unoptimized resource loads
  • TBT (Total Blocking Time)
  • Memory heap usage and leaks
  • Network timing and caching misses And more…

Combines this with Screenshot data to highlight:

  • Which screens are causing frustration
  • Which buttons are slow to respond
  • Where layout instability is happening
  • Which resources are dragging down load times
  • Where caching is failing

Essentially:

The stuff that actually impacts user experience – and revenue – but never gets caught in ordinary test suites.

Why This Matters

Performance isn’t a “nice-to-have.”

It’s a direct business driver:

  1. Higher conversions
  2. Lower bounce rates
  3. Higher user trust
  4. Better retention
  5. Cleaner UX
  6. Higher SEO ranking
  7. Less app fatigue and frustration

By treating performance issues as first-class bugs, you’re not just “optimizing”, You’re making your product feel premium and effortless, the way users expect modern webapps to be.

E2E tests as a Map of App Pathways

· 4 min read
Nuwan Samarasekera
Founder & CEO, TestChimp

End-to-end tests are ultimately just a sequence of user actions and expectation checks. Conceptually, each test is a walk through your app

Goto url -> Login -> Go to Settings Page -> Update role -> Verify role is updated

You can represent this as a path: every step is a node, and the edges show how the user moves from one step to the next.

Now imagine aggregating all the paths from all the tests in your suite. You end up with a tree-like structure—essentially a map of every known pathway through your product.

Behaviour Map

This isn’t just a “cool visualization.”

It unlocks powerful, practical applications – especially when using AI agents for testing.

Better RAG for Testing Agents

This tree acts as a graph index over your product’s behavioural pathways.Just like a database index accelerates queries, this structure enables an agent to answer deeper questions about your app’s behaviour – making retrieval-augmented reasoning much more effective.With it, an agent doesn’t have to hallucinate how the app works.It can look up structure, pathways, and reachable states deterministically.

Automatically Expanding Your Test Suite

Once you have this_“pathway map,”_ an agent can intelligently expand your test suite by targeting untested branches. To do this well, the agent needs two answers:

  • How do I reach the required state?
  • Which branches from that state are already covered?

In TestChimp (under Atlas → Behaviour Tree), selecting any node shows:

the exact path from the root to that node (how to get there), and

all outgoing edges (which branches are already explored by existing tests).

From there, the agent simply:

  1. Navigates to the node by following the script steps.

  2. Look at the UI state.

  3. Brainstorms unexplored actions (new branches).

  4. Converts each unexplored branch into a new test.

In other words, the map gives the agent the same advantage a human has when using Google Maps – it can get anywhere, deliberately.

Controlled Agentic Exploration

Agent-led exploratory testing can be powerful: the agent can analyze DOM, screenshots, network logs, and console output while walking through your app.

But in practice, fully-agentic exploration has challenges:

  • Slow – inference happens at every step
  • Easily distracted – coarse objectives lead to wandering
  • Unfocused – without context, exploration becomes random

It’s like asking a human to explore an unfamiliar city with no map:

slow progress, random detours, and little sense of the big picture.

Your behavioural pathway graph is the map.

With it, the agent can:

  • reason about where it is,
  • figure out where to go next,
  • and explore far more methodically.

You can even focus exploration narrowly – for example:

“Analyze the Settings page as an admin user.”

Because each step in the graph is annotated with the screen and state (from previous explorations), the agent can determine:

  • how to reach that precise screen state, and
  • how to explore meaningfully once there.
  • To try variations (e.g., test different scenarios in Settings), the agent simply follows the shared trunk of paths that lead to that screen – much like several routes through a city share the same highway.

Bridging Pathways With App Structure: Screens & States

Throughout this post we’ve mentioned “screens” and “states.”

Here’s how they fit in.

A human knows, while navigating:

  • “I’m on the login page”
  • “Now I’m on the home page”
  • “Now I’m in the settings page as an admin”

Traditional Playwright scripts do not carry that semantic information.

But an agent can.

As it walks through a test step-by-step, it can look at the UI and infer:

  • Which screen am I on?
  • What state am I in? (logged in, admin, item added, etc.) This is exactly what ExploreChimp does.

During guided exploration, it maps each step to the screen and state the UI is currently in.

That enriched context enables the agent to answer questions like:

“How do I get to the Settings page as an admin user?” “What screens does this test touch?” “Which parts of the product lack coverage?”

By connecting behavioural paths with semantic screen/state understanding, TestChimp gains a rich structural model of your app – fueling downstream capabilities like:

  • generating user stories,
  • planning test strategies,
  • writing new tests,
  • and performing targeted exploratory analysis.

Screen-State markers in SmartTests

· 3 min read
Nuwan Samarasekera
Founder & CEO, TestChimp

Ok, first a quick recap on SmartTests:

SmartTests are plain playwright scripts, with intent comments before steps, that enables hybrid execution (fallback to agent mode execution when needed).

SmartTests are used by ExploreChimp to guide its explorations in pre-defined pathways, along which it identifies UX issues of the webapp such as performance, visual glitches, usability, content and more.

The Challenge: Context for Bugs

When ExploreChimp finds bugs, it tags them with the “Screen” and “State” where they were captured. This context helps with troubleshooting and understanding when issues occur.

  • A Screen is a conceptual view of your application: Dashboard, Homepage, Shopping Cart, etc.
  • A State represents a specific situation within that screen: Empty Cart vs Cart with Items, Logged In vs Logged Out, etc.

ExploreChimp autonomously determines current screen and state based on the steps taken and the current screenshot. While this makes getting started easier, it may not always align with your mental model / the granularity you want things tracked at.

The Solution: Screen-State Annotations

Now you can add explicit screen-state markers directly in your SmartTest scripts. These annotations tell ExploreChimp exactly which screen and state the app is at at a given point in the test, ensuring bugs are tagged with the context you care about.

How It Works

After ExploreChimp runs, if the script didn’t contain screen-state markers, it updates the script with screen-state annotations it determined during the walk.

If you don’t want agent to update the script, you can turn it off by unchecking “Update script with screen-state annotations” under Advanced Settings (in the Exploration config wizard).

You can edit these annotations to match your conceptual model. For example, you may want to track UX bugs for “Cart with out-of-stock items” vs “Cart with in-stock items.” instead of the agent suggested states.

On the next run, ExploreChimp uses your annotations instead of guessing, so bugs are tagged consistently with your terminology.

Here is an example of a SmartTest with screen-state annotations:

test('Shopping Cart Flow', async ({ page }) => {
// Navigate to homepage
await page.goto('https://example.com');
// @Screen: Homepage @State: Default

// Search for a product
await page.getByPlaceholder('Search products').fill('laptop');
await page.getByRole('button', { name: 'Search' }).click();
// @Screen: Search Results @State: With Results

// Add item to cart
await page.getByRole('link', { name: /laptop/i }).first().click();
await page.getByRole('button', { name: 'Add to Cart' }).click();
// @Screen: Shopping Cart @State: Cart with Items

// Proceed to checkout
await page.getByRole('button', { name: 'Proceed to Checkout' }).click();
// @Screen: Checkout @State: Payment Step
});

Benefits

  • Consistent bug tagging: Bugs are tagged consistantly using your terminology, not AI-generated labels.

  • Better organization: View bugs by screen-state in Atlas → SiteMap with your own categories.

  • Easy refinement: Edit annotations to match your mental model easily – no need to retrain or reconfigure.

Getting Started

  • Run ExploreChimp on your SmartTest (annotations are added automatically).

  • Review and edit the annotations in your script to match your terminology.

  • The next time ExploreChimp is run on that test, it will use your annotations for consistent bug tagging.

The annotations are simple comments, so they don’t affect test execution – they’re purely for ExploreChimp’s context understanding.