Install and use QA Bots
In brief: Each team member installs the TestChimp QA bot template in Grok, authorizes it for one project, pastes its webhook URL and key into User Settings → My Bots, and picks their role in onboarding. This page covers setup, what each role's bot does day to day, team rollout, and troubleshooting.
New to QA Bots? Start with the overview for how the swarm works.
Before you start
- Project init is done. This is a one-time setup per project, usually by a QA lead:
/testchimp project initsets the plans and tests folders, the test environment and CI. If it isn't finished, the bot tells you what's missing during onboarding and offers to walk you through it. - A Grok account where you can add a bot. (Dots support is coming soon.)
- Your computer, for local flows (optional). Mapping your repo folder, AgentWatch requirement updates and local test runs always run on your own computer, never on the bot's cloud computer, because AgentWatch reads the coding-agent chats and repo clone on your machine. You grant the bot access in Grok, and it asks before running anything that changes your machine. You need Node.js 20+ there.
Each team member sets up their own bot, one bot per person per project.
Install your bot
1. Add the bot from the template
Open the TestChimp QA bot template in Grok and add it to your workspace. It comes with the testchimp skill, the bot instructions and the scheduled routines. You can also reach the template from TestChimp: User Settings → My Bots → Add bot → GrokBot.
2. Connect it to your TestChimp project
In the bot's chat, ask it to connect TestChimp ("set up my QA bot"). The bot adds the TestChimp connector itself, so you don't paste any URL. Click Authorize. On TestChimp's consent page, sign in, pick the project this bot should serve, keep Use this connection as my QA bot ticked, and click Allow.
The bot confirms which project it's bound to. No API key is pasted anywhere: the bot fetches its own project binding after you authorize.
Already have a bot on another project? Click Authorize (or Reconnect) on the connector again and pick the new bot's project. Each bot keeps its own project.
3. Point TestChimp's webhook at the bot
TestChimp delivers events to the bot through a webhook. Grok doesn't let the bot read its own webhook details, so you paste them once:
- In Grok, open the bot's TestChimp deliveries routine and copy its webhook URL and webhook key.
- Open the settings link the bot sends you. It goes to User Settings → My Bots (
/user-settings?tab=my-bots) with your project and bot already selected. - Paste the Webhook URL and Webhook key, then click Save webhook. TestChimp checks the connection right away and the card shows Verified once the bot answers. Check Connection re-runs the check later.
4. Onboard the bot
The bot walks you through a short conversation:
- Project init status. It checks whether the project's one-time setup is complete.
- Your role: QA lead, Product manager, QA engineer or Developer.
- Capabilities, pre-selected for your role. Choose Looks good, or Change activities to pick your own.
- Routine times: your weekday reminder time and timezone (default 9:00, Monday to Friday), and the weekly digest day if you picked QA posture.
- Registration. After you confirm the summary, the bot registers your role, capabilities and event subscriptions with TestChimp.
- Webhook check, if you skipped step 3.
- Project init, if it isn't complete. The bot guides you through the remaining items and, at the end, offers to invite your teammates.
- Your local repo folder. On your computer, the bot runs
testchimp workspace mapto link your clone to the project. It checks that the folder is a git repo whose remote matches the project's connected repository. The mapping lives in~/.testchimp/projects.json, which TestChimp Studio uses too.
Say "change my focus" anytime to redo the role and capability steps.
5. Connect AgentWatch (requirement updates only)
If you picked requirement updates, the bot asks AgentWatch for the plan it drafted from your coding-agent chats. AgentWatch runs headless on the machine where you code, so you don't need TestChimp Studio.
With your approval, the bot runs a short pairing on your computer:
testchimp bot connect --pair --project-id <projectId>
# the bot approves the printed pairing code with its own connection
testchimp bot connect --finish-pair
There's no second browser sign-in: the consent you gave in step 2 covers it. Your personal access key and the project API key go straight from TestChimp to ~/.testchimp/agentwatch/credentials.json on your computer (readable only by you), and the bot never sees them. Pairing codes last 10 minutes and work once.
To remove the stored keys later, run testchimp bot disconnect --project-id <projectId>. If you already use TestChimp Studio, its sign-in and AgentWatch toggle work too (how).
Use cases by role
Each role's bot works off the events its owner subscribed to, plus a weekday reminder. Every proposal waits for your approval before anything changes.
Developer: tests and specs keep up with your code
Pre-selected: requirement updates, E2E authoring, issue fixes.
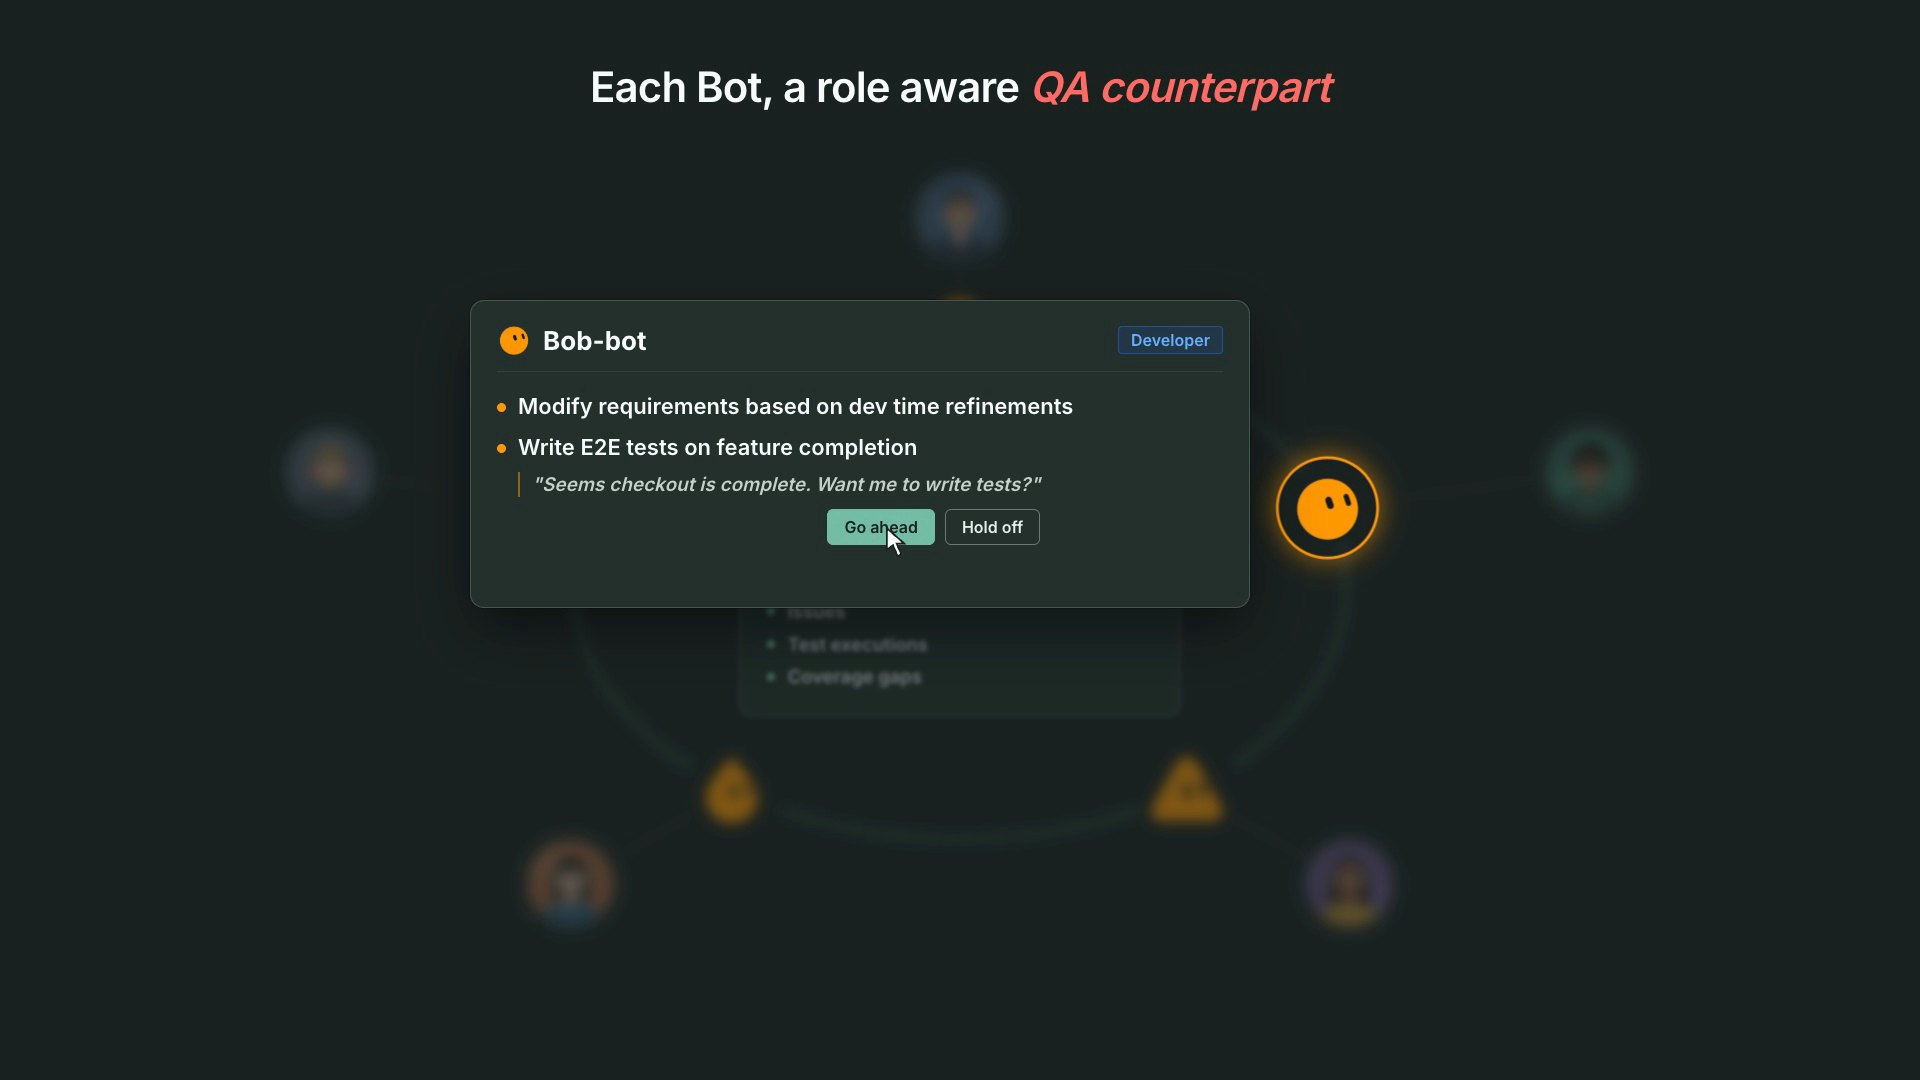
- You push a feature branch. The bot reads your commits and judges whether the work looks complete. If it looks in progress (WIP commits, a burst of pushes), it waits for your next push.
- The feature looks done. The bot asks AgentWatch for the requirement changes you decided in your coding-agent chats and shows you the plan: affected stories, new scenarios, and the chat sessions they came from. Approve it and the bot runs author plans to update the stories and scenarios in your repo.
- Then tests. The bot proposes E2E tests for the changed behaviour, each tied to a scenario. Say "Go ahead" and it runs create tests for your branch, then asks you to review the runs and mark the tests verified.
- An issue is assigned to you. The bot summarises severity, repro steps and the suspected area, and proposes a fix plan (fix issue).
QA engineer: manual and automated testing without the chasing
Pre-selected: E2E authoring, test batch fixes, manual test coordination.
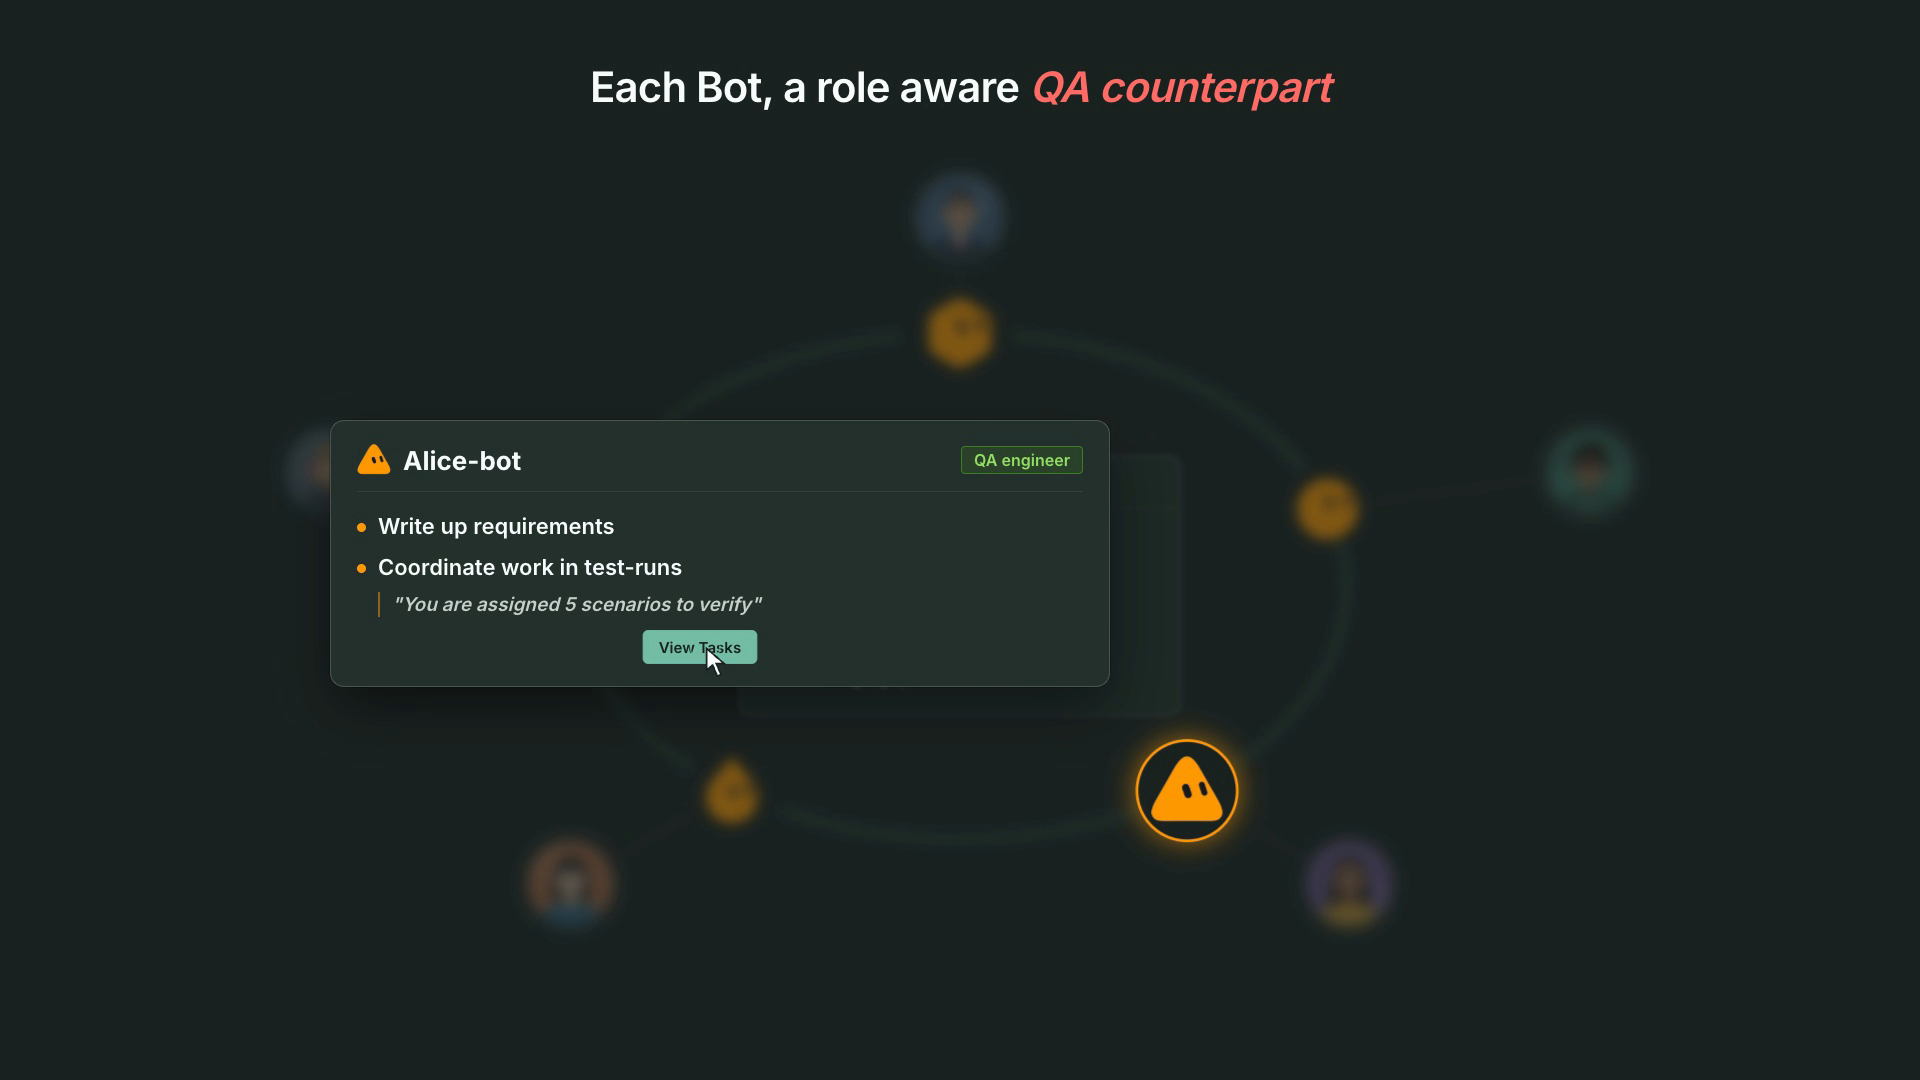
- Scenarios are assigned to you in a test run. The bot lists them with a link to the run, and offers to walk you through the steps, record results as you go, or automate a scenario so it no longer needs a manual check.
- An E2E batch fails on your branch. The bot summarises the failures, triages each one (test needs an update, product bug, or flaky), and proposes fix test failures, a new issue for product bugs, or a re-run for flakes.
- A k6 performance batch breaches a threshold. The bot compares the run to the baseline and proposes a performance investigation. It never weakens a threshold without your approval.
- Spec work from meetings. Turn on requirement updates and the bot proposes story and scenario updates from the summaries of meetings you added the Meeting Bot to.
QA lead: release health and posture without a status meeting
Pre-selected: QA posture, test batch fixes, manual test coordination.
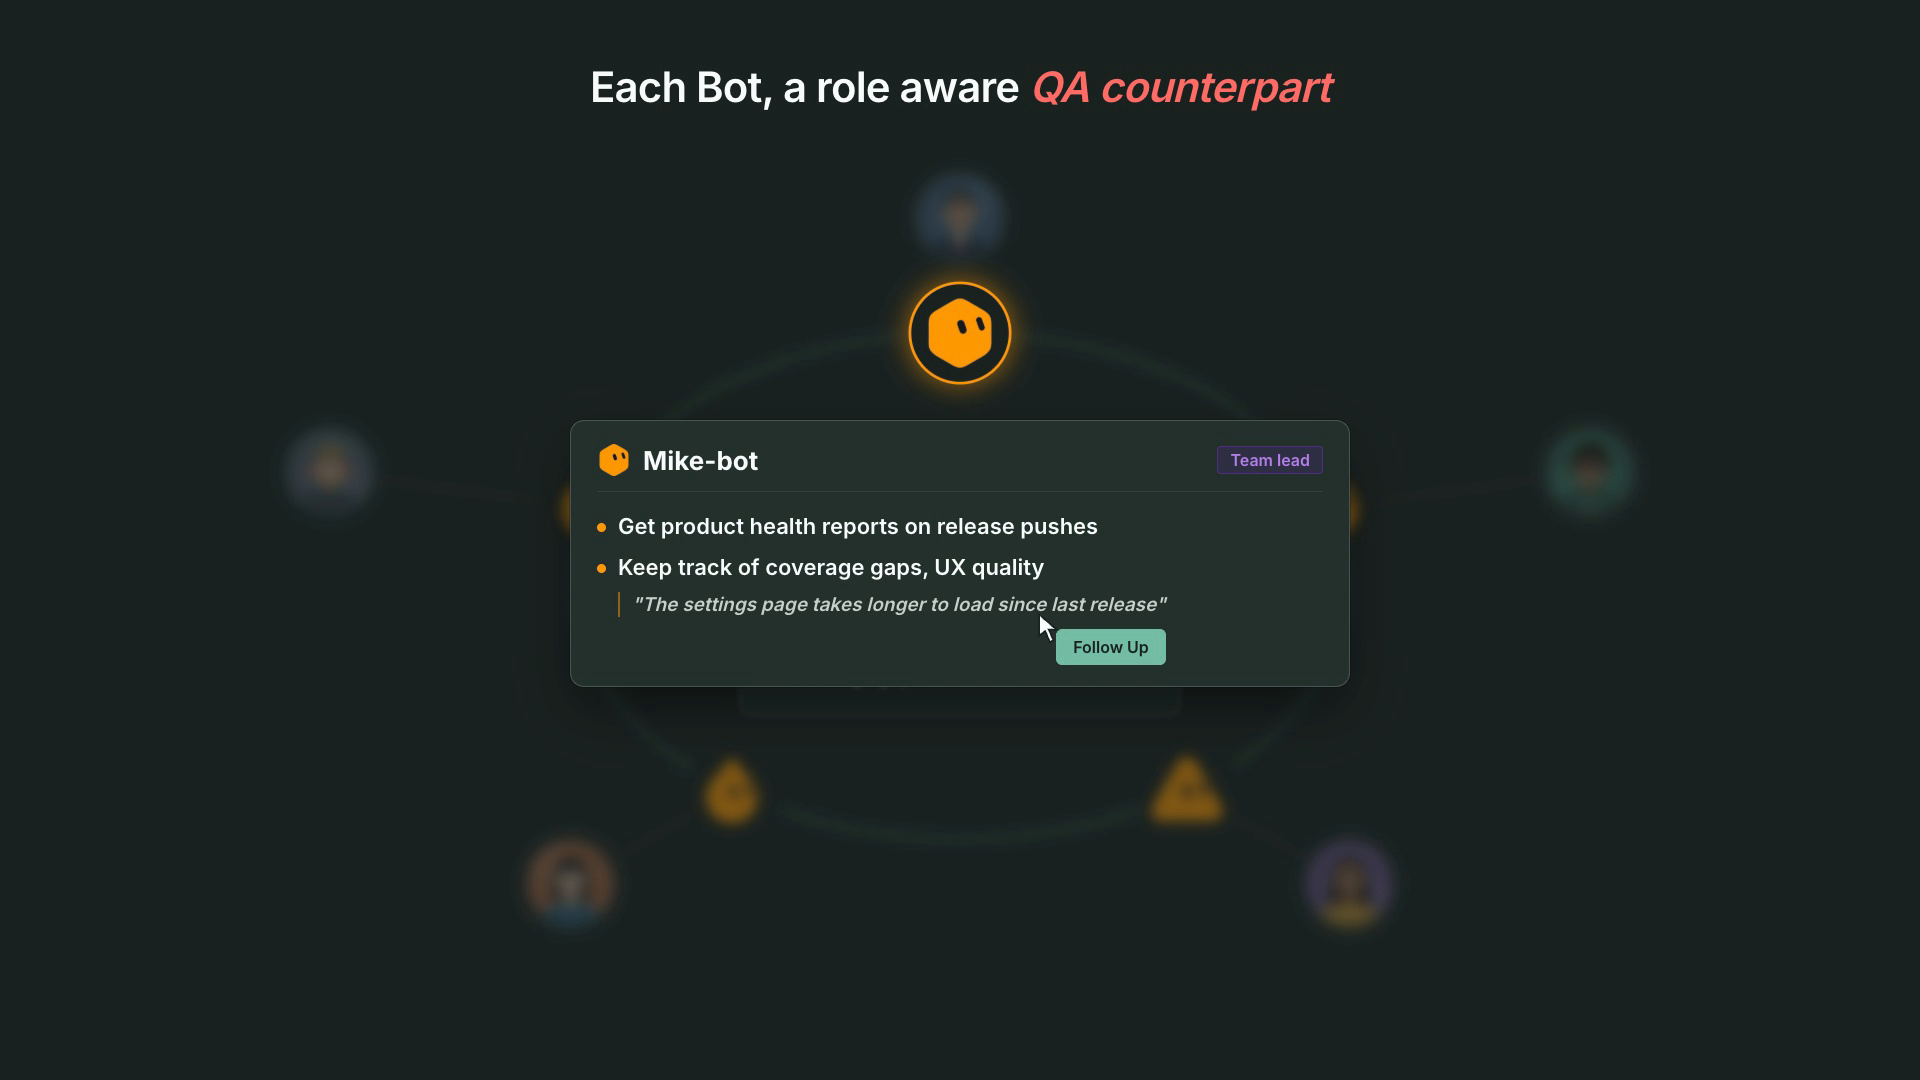
- A release is created or changes status. The bot sends a short heads-up: blockers, failing areas, open test runs and tests awaiting verification, with a link to the release. When a release heads to done with gaps, it offers a release check.
- Every week. A QA posture digest: upcoming releases, open issues by severity, active test runs, and tests nobody has verified yet.
- Batches and assignments. The same failure triage and test-run coordination as a QA engineer, for your branches and assignments.
Product manager: go / no-go without digging
Pre-selected: QA posture, requirement updates.
- Release heads-ups tuned for a go / no-go call: blocking issues, failing priority scenarios, and the due date, in two or three lines.
- A weekly digest of release health and the overall trend.
- Meeting follow-ups. After a meeting you added the Meeting Bot to, the bot proposes story and scenario updates from the summary, so what was agreed becomes requirements.
Everyone
- Weekday reminder of what's on your plate: assigned scenarios, assigned issues (overdue first), tests awaiting your verification, and workflow executions waiting for your approval. No message when nothing is pending.
- Workflow executions assigned to you. When you're made the assignee of a workflow execution (for example, a plan waiting for approval), the bot tells you what it is and the next step, and can hand it off to a teammate if you ask.
Roll out QA Bots to your team
- One person finishes project init. Usually a QA lead. Their bot can guide them through it during onboarding.
- Invite the team. At the end of project init the bot offers to invite teammates by email (org admins only).
- Everyone installs their own bot and picks their role. A teammate's bot only receives that teammate's events, so adding bots doesn't add noise for anyone else.
- Map local clones for people who want requirement updates from AgentWatch or local test runs.
- Watch adoption on each person's My Bots page: verified webhooks, subscriptions and recent deliveries.
Manage your bot
On User Settings → My Bots, pick the project on the left and open your bot's card to:
- Update the webhook URL and key and re-run Check Connection.
- See the bot's profile and subscriptions (role, capabilities, event types and filters).
- Pause all deliveries without removing the bot.
- View recent deliveries: the latest 50 events sent to the bot, with their state (queued, delivered, acked, expired).
In the bot's chat you can change your role and capabilities ("change my focus"), move your reminder ("move my reminder to 9:30 Sydney time"), or ask to be told when batches pass.
Event reference
| Event | Who receives it | What the bot proposes |
|---|---|---|
git-push | Commit author's bot | Requirement updates from AgentWatch, then E2E tests for the change |
meeting-ended | Bot of the person who added the Meeting Bot | Requirement updates from the meeting summary |
issue-assigned | Assignee's bot | A fix plan |
scenario-assigned | Assignee's bot | Walkthrough, result recording, or automation |
e2e-batch-completed | Bot of the latest author on the branch | Failure triage and fixes |
k6-batch-completed | Bot of the latest author on the branch | Performance investigation against the baseline |
release-created, release-status-updated | Every bot subscribed to QA posture | A go / no-go heads-up |
workflow-execution-assigned | Assignee's (or CC'd person's) bot | Next step for the execution, or a hand-off |
Events are grouped per person and type over a few minutes, so deliveries can take up to about 10–15 minutes. Events wait in a queue while the bot is offline, until delivered or expired.
Troubleshooting
| Symptom | Fix |
|---|---|
| Check Connection fails | Re-copy the webhook URL and key from the bot's TestChimp deliveries routine in Grok, click Save webhook, and check again. The URL must be reachable over HTTPS. |
| No events arrive | Confirm the webhook shows Verified and Pause all is off. Check that your subscriptions cover the event; for example, git pushes are filtered to your own commits, matched by your commit email. Delivery can take 10–15 minutes. |
| Events keep coming back | The bot isn't acknowledging them. Ask it to check its CLI version (testchimp bot compat) and its project binding. |
| Bot says "no project binding" or gets a 401 | Authorize the connector again for this bot's project with Use this connection as my QA bot ticked. |
| Bot says it can't reach your computer | Grant the bot access to your computer in Grok. Folder mapping and AgentWatch only run there. |
| Bot says the folder is not mapped | Ask it to rerun the folder step, or run testchimp workspace map --project-id <id> --folder <path> yourself. |
REPO_MISMATCH when mapping | The folder's git remote doesn't match the repository connected in Project Settings → Integrations. Pick the right clone, or fix the integration. |
folder already mapped to project … | The folder belongs to another project. Map it with --reassign if you meant to move it. |
AgentWatch: agentwatch_disabled or auth_required | No AgentWatch keys for this project on this machine. Ask the bot to rerun the AgentWatch pairing (step 5), or sign in to TestChimp Studio and enable AgentWatch. |
AgentWatch: below_baseline | AgentWatch is still learning this repo. Requirement updates start after the baseline is built (baseline). |
AgentWatch: tick_in_progress | AgentWatch is analysing. The bot retries a few minutes later. |
AgentWatch: agentsview_unavailable | The first run indexes your local coding-agent sessions, which can take a few minutes. The bot retries later. |
| Bot says its skill or CLI is outdated | The daily self-update keeps the bot's copy current. Approve the update it proposes for your computer (npm i -g @testchimp/cli@latest). |
FAQ
Where do I set the webhook URL and key?
In User Settings → My Bots (/user-settings?tab=my-bots). Pick the project, open the bot's card, paste the webhook URL and key from the bot's TestChimp deliveries routine in Grok, and click Save webhook. The connection is checked automatically.
Does the bot need TestChimp Studio?
No. Requirement updates from git pushes come from AgentWatch, which runs headless on your computer. The bot pairs it with testchimp bot connect --pair and --finish-pair; there is no second browser sign-in. Studio sign-in also works if you already use it.
How does the bot know my local repo folder?
During onboarding it runs testchimp workspace map on your computer, which checks the folder is a git repo matching the project's connected repository and stores the mapping in ~/.testchimp/projects.json.
How long do events take to reach the bot?
Events are grouped per person and type over a few minutes, so deliveries can take up to about 10–15 minutes. Events wait in a queue while the bot is offline, until delivered or expired.
How do I change my role or capabilities later?
Say "change my focus" to the bot. It reruns the role and capability steps and replaces your subscriptions. You can pause all deliveries from User Settings → My Bots.