Atlas SiteMap
What is the Atlas SiteMap?
The Atlas SiteMap captures the structure of your webapp in terms of screens and states. It's built by ExploreChimp during explorations and provides a visual representation of your application's architecture.

Core Concepts: Screens and States
What is a Screen?
A Screen represents a distinct page or view in your application (e.g., Dashboard, Login, Settings, Cart, Product Detail).
What is a State?
A State represents a specific condition or configuration of a screen. For example:
- Login screen: Empty form, Filled form, Error state
- Cart screen: Empty cart, Cart with items, Checkout in progress
- Dashboard: Default view, Filtered view, Loading state
A screen can have multiple states, and bugs are tagged at the screen-state level for precise context.
How Screens and States Are Identified
The SiteMap is continuously built and updated as ExploreChimp runs explorations:
Screen Identification: ExploreChimp uses vision intelligence to name screens by analyzing the visual appearance and structure of each page.
State Identification: States are named by analyzing the steps taken in the user journey so far, combined with the current visual state.
Vocabulary Management: ExploreChimp utilizes the vocabulary of known screens and states from the SiteMap to ensure no duplicate namings. This maintains consistency across explorations and prevents the same screen or state from being named differently.
Screen-State Annotations: If screen-state annotation comments are present in your SmartTests, they guide ExploreChimp's identification. If not present, the agent deduces screen states and can update scripts with annotations after exploration (see Screen-State Annotations for details).
Fine-tuning App Structure
Manual Edits on the SiteMap
You can manually edit the SiteMap to refine the structure:
- Rename screens and states
- Merge duplicate screens/states
- Add or remove screens/states
- Reorganize the structure
Note: Screen-state annotations in SmartTests also help guide ExploreChimp's identification. See Screen-State Annotations for details.
Visual Regression Workflow Management
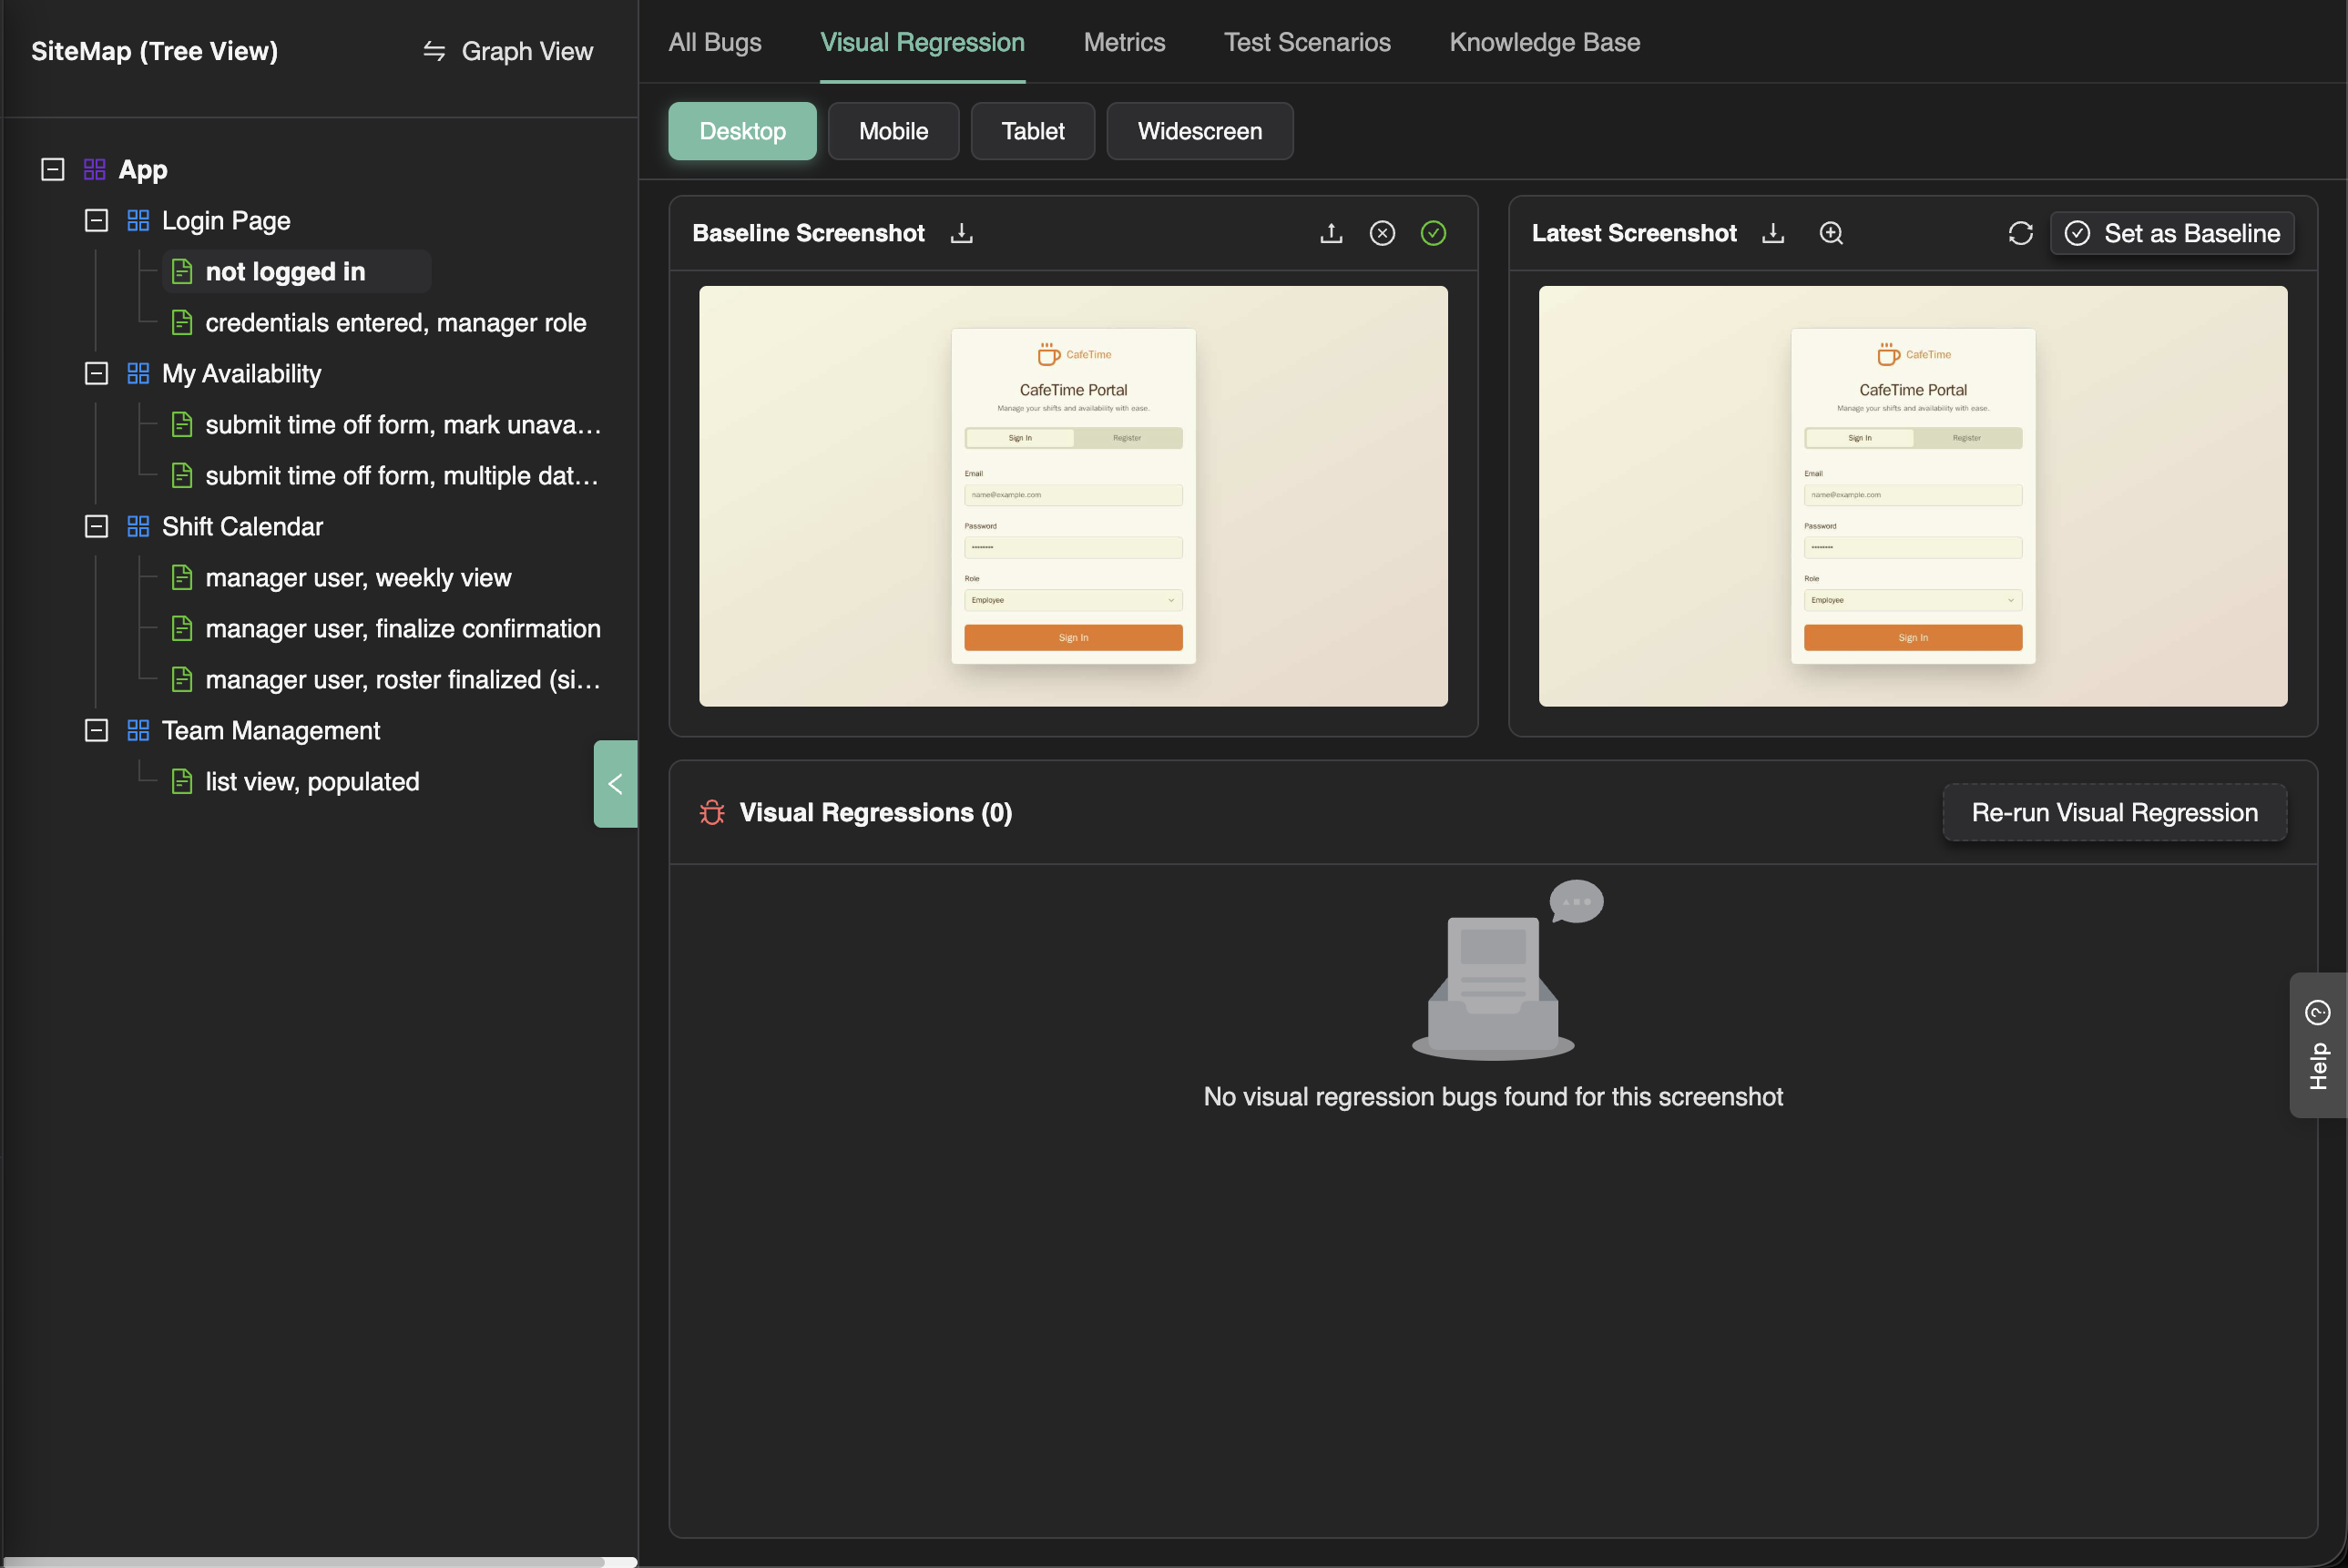
Setting Up Baseline Images
- Select a screen-state in the SiteMap tree view
- Open the Visual Regression tab
- The tab displays the current baseline screenshot (if one exists)
- You can:
- Upload a different baseline: Click the upload icon to replace the baseline with a new screenshot
- Approve current baseline: If the baseline is marked as "assumed approved", click the approve button to confirm it
- Change viewport: Use the viewport selector to set baselines for different viewport sizes
How It Works
When ExploreChimp walks through the same screen-state again during an exploration, it captures a new screenshot and compares it against the baseline. Visual differences are reported as regressions and displayed in the Visual Regression tab.
Viewport Considerations: Baselines are viewport-specific. Set baselines for different viewport sizes (desktop, tablet, mobile) as configured in your ExploreChimp settings.
Performance Regression Workflow Management
Setting Performance Thresholds
- Select a screen-state in the SiteMap tree view
- Open the Metrics tab
- The tab displays:
- Current Metrics: Latest performance metrics collected for this screen-state (LCP, FCP, CLS, TBT, Long Tasks, Memory Heap, Interaction Latency, etc.)
- Threshold Overrides: Current threshold values for each metric
- To set or update thresholds:
- Click "Add Override" to set a threshold for a specific metric
- Select the metric and enter the threshold value
- Thresholds can be set at the state level, screen level, or app level (with inheritance)
How It Works
When ExploreChimp walks through the same screen-state again during an exploration, it captures performance metrics and compares them against the configured thresholds. When metrics exceed thresholds, performance regressions are reported. The Metrics tab shows current metrics alongside thresholds for easy comparison.
Knowledge Base Management
You can attach documents (PDFs, Markdown, text files, images, etc.) at any level of the Atlas SiteMap:
- At the project level
- At specific screens
- At specific states
Documents are indexed for search and retrieval, and used to provide context during:
- User story authoring: Provides context about features and requirements
- Test planning: Informs test scenarios and coverage
- Explorations: Guides ExploreChimp's understanding of your application
Collaborator Management
- Navigate to a screen in the SiteMap
- Open the Collaboration tab
- Add team members and designate a Primary Owner for that screen
Auto-Assignment: When bugs are identified for a screen, they are automatically assigned to the designated primary owner, ensuring bugs are routed to the right person immediately.
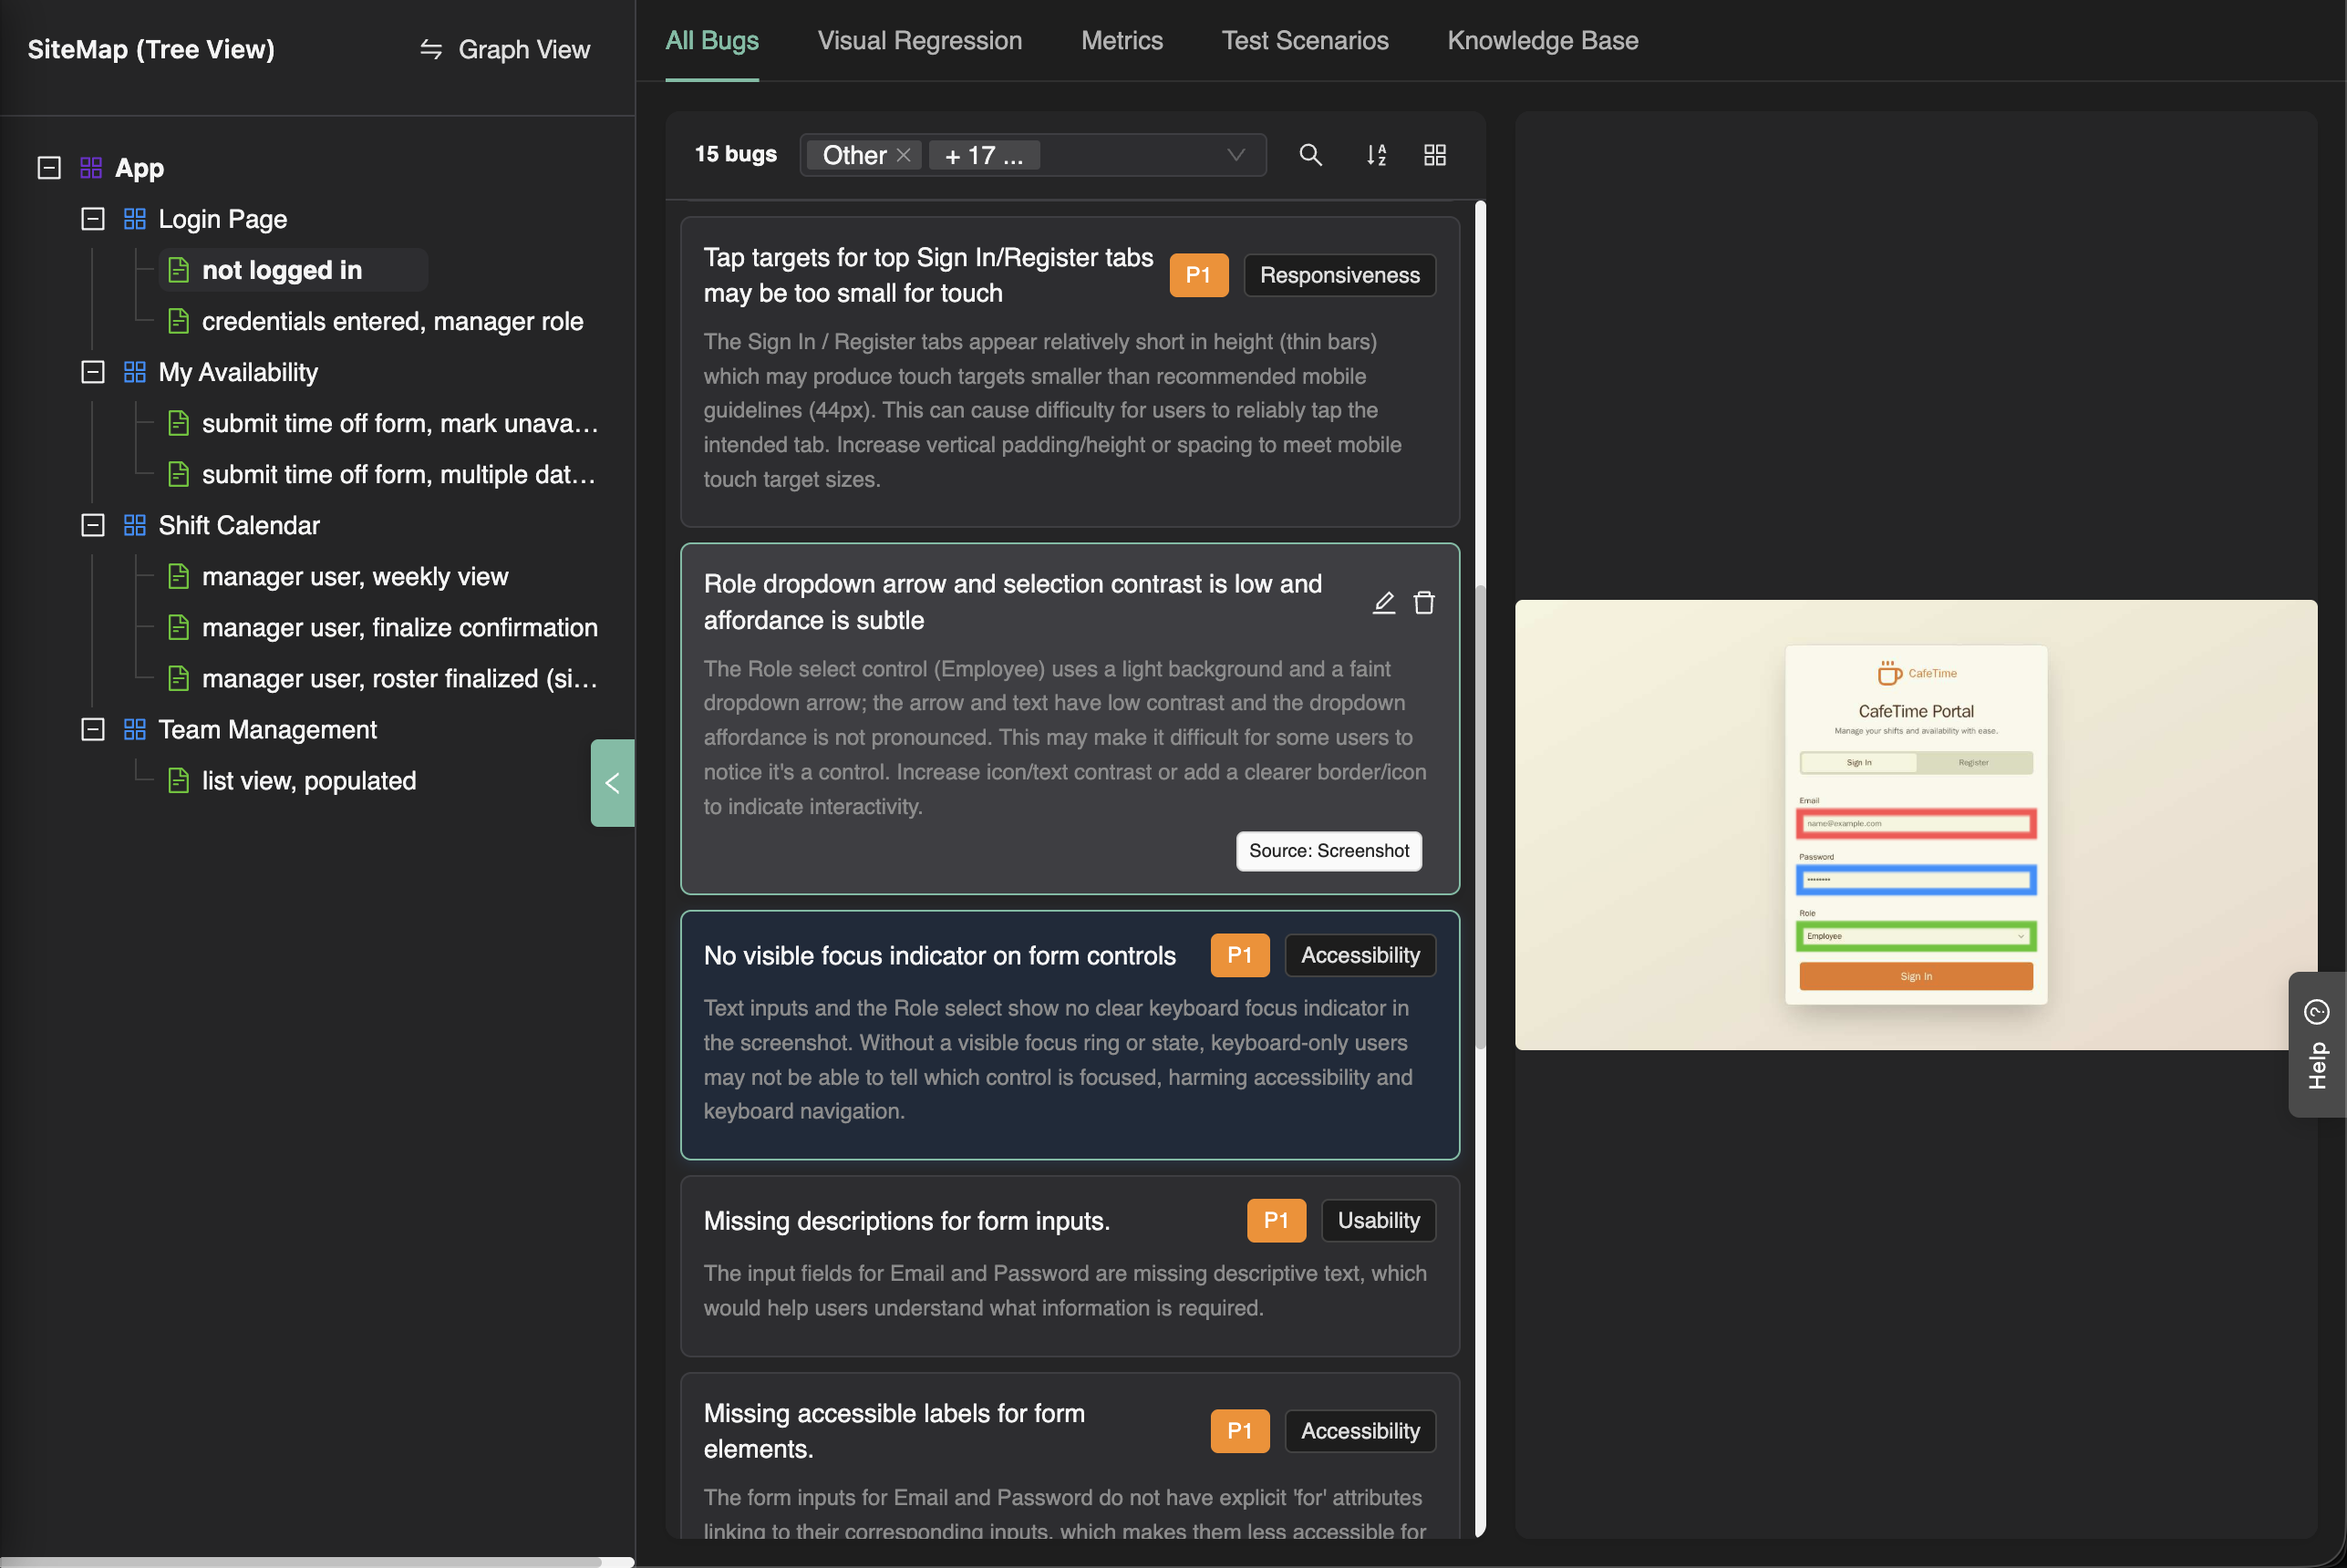
Bug Triaging
Bugs are displayed in the SiteMap, tagged at the screen-state level where they were identified. They are grouped by screen for easy navigation and filterable by bug type, severity, and status.
Workflow:
- Auto-assignment: Bugs are automatically assigned to primary owners (see Collaborator Management above)
- One-click bug fixing: Fix bugs automatically with OpenHands Integration - cloud agents analyze the bug context and create pull requests with fixes
- Manual assignment: You can manually assign bugs to team members
- Status tracking: Track bug status (new, in progress, fixed, verified)
- Prioritization: Prioritize based on severity, screen importance, user impact, and release timeline
Running Explorations from the SiteMap
You can run targeted explorations directly from the SiteMap to focus on specific screens or screen-states:
How to Run an Exploration from the SiteMap
- Navigate to the Atlas SiteMap
- Find the screen or screen-state you want to explore
- Click the 3-dot menu (⋮) next to the screen or screen-state node
- Select "Run ExploreChimp" from the menu
How It Works
When you run an exploration from the SiteMap:
- Targeted Test Selection: ExploreChimp intelligently selects tests that go through the specified screen-states, optimizing for minimal test coverage
- Focused Analytics: Bug source analysis runs only when the agent is in the specified screen-states (see Limiting Analytics to Specific Screen-States for details)
- Automatic Configuration: The exploration modal opens with:
- The selected screen-state(s) pre-populated as target screen-states
- The "Limit analytics to following screen" setting enabled by default
- All known tests considered for selection (tests folder path configured)
This workflow is ideal for:
- Focused testing: Testing specific features or workflows
- Efficient credit usage: Running analytics only on areas of interest
- Targeted bug discovery: Finding issues in specific parts of your application
The Atlas SiteMap provides a comprehensive view of your application's structure and serves as the foundation for all TestChimp's intelligent features.