How Exploratory Testing Works
In brief: An exploration is a set of ExploreChimp journeys following SmartTest paths with a recipe that defines analysis focus—DOM, screenshots, network, console, and metrics at each screen-state.
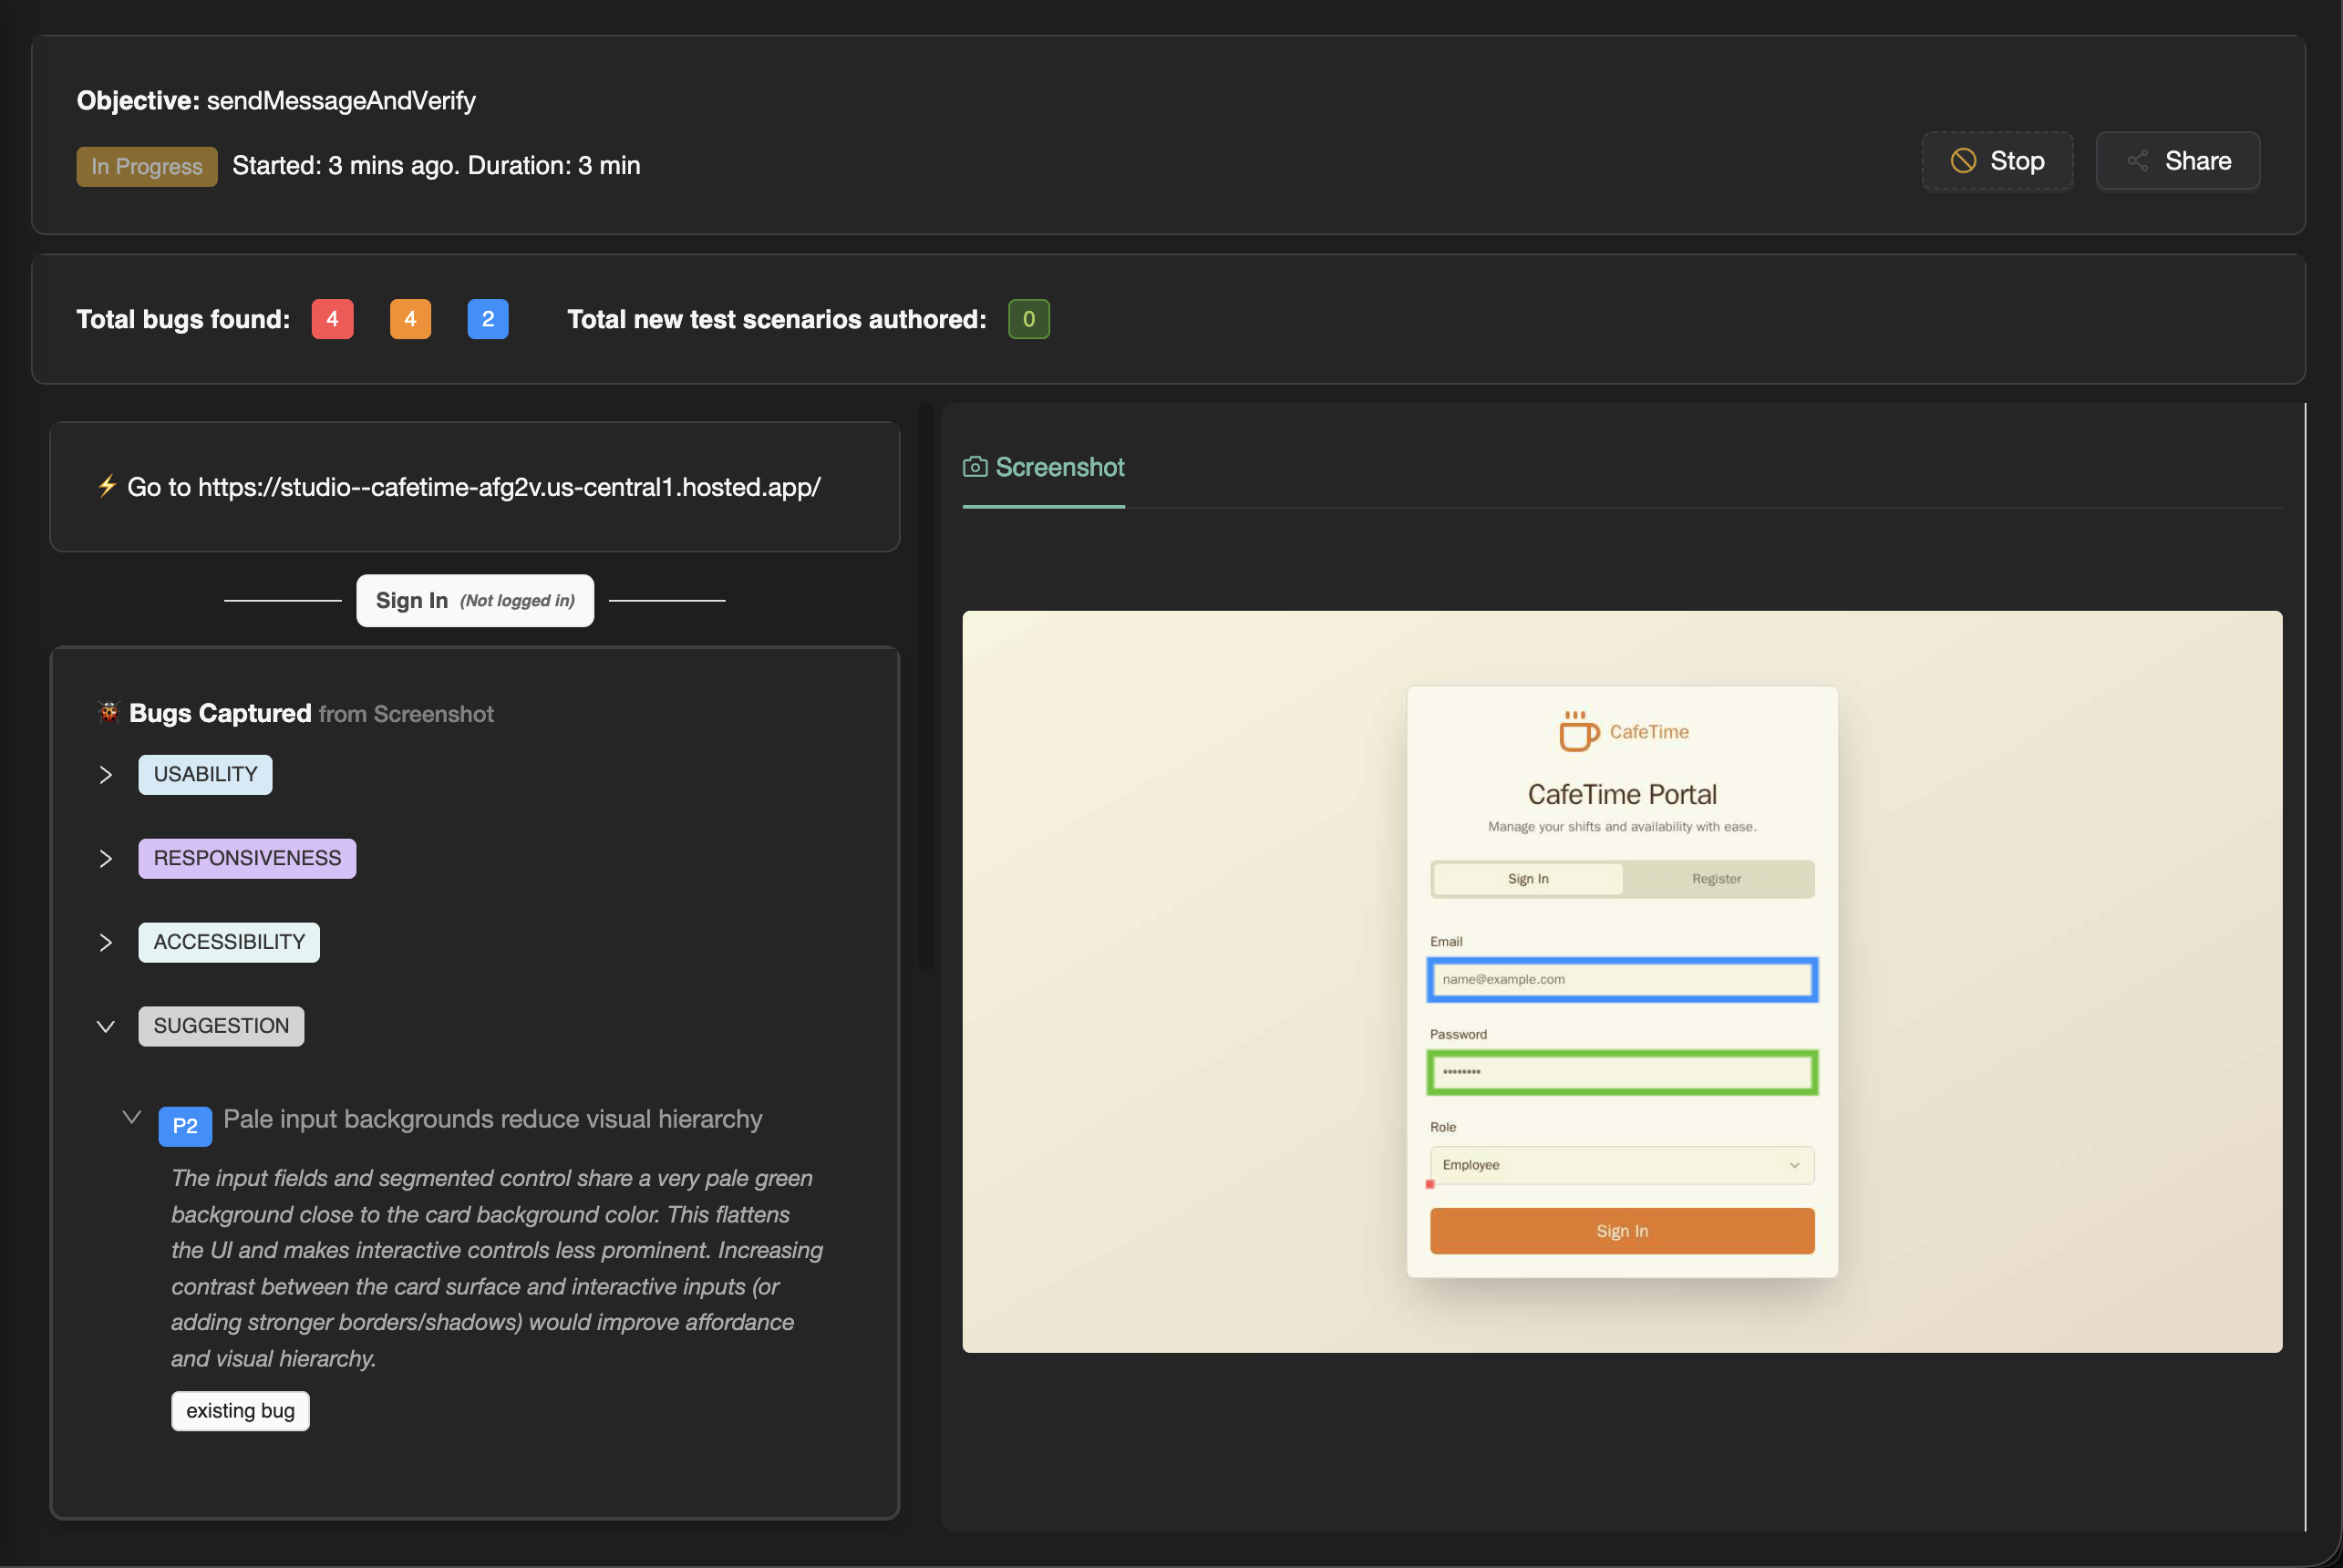
Exploratory testing in TestChimp uses AI agents to navigate your application and identify UX bugs that traditional automation misses. Why do it? Because automated scripts don't see the screen, and manual testing doesn't scale — exploratory agentic testing bridges that gap.
Here's how it works:
Core Concepts
What is an Exploration?
An Exploration is a set of journeys through your app taken by ExploreChimp (TestChimp's exploratory test agent). During an exploration, ExploreChimp navigates your application, learns about its structure, and identifies bugs by analyzing multiple data sources.
What the agent does during each journey is dictated by the recipe of the exploration. Recipes define the agent's behavior, focus areas, and analysis strategies.
What is a Recipe?
A Recipe is a predefined strategy that guides ExploreChimp's behavior during explorations. Each recipe has a specific objective and determines:
- What the agent focuses on during its journeys
- Which analysis strategies are used
- How the agent navigates and explores your application
- What types of issues are prioritized
Explorations are guided by SmartTests, which dictate the pathways the agent takes during each journey. The recipe determines what the agent does while following those pathways.
What is a Journey?
A Journey is a single path through your app guided by a SmartTest. Multiple journeys can be executed within a single exploration, allowing ExploreChimp to explore different pathways and scenarios.
When running an exploration based on a test folder, journeys are created for tests within that scope, up to the configured number of journeys.
What are Explorer Credits?
Explorer credits are consumed during explorations. It takes 1 credit to analyze a data source. However, analysis is done only when screen-state changes (not after every step). This means credits are consumed when ExploreChimp detects a new screen-state and performs its comprehensive analysis across all data sources. Credits are used to track and manage exploration usage.
Primary Recipes
Bug Source Analytics Recipe
The Bug Source Analytics recipe is the primary recipe when SmartTests are present in your project. This recipe:
- Analyzes various bug sources (DOM, Screenshot, Network, Console, Metrics) for issues and flags them
- Performs visual regression testing by comparing screenshots with baselines
- Performs performance regression testing by comparing metrics with thresholds
- Tags all identified bugs at the specific screen-state where they were found
This recipe provides comprehensive bug detection across multiple data sources and is ideal for ongoing quality assurance.
Screen-State Discovery Recipe
The Screen-State Discovery recipe is the primary recipe when there are no SmartTests present in your project. This recipe:
- Uses user-provided test credentials to login to the target webapp
- Navigates autonomously to identify key screen-states in the app
- Builds a "Starter" test suite that can be used by ExploreChimp for subsequent targeted explorations
The objective of this recipe is to help users get started quickly by automatically discovering and creating initial test coverage. Users can then create additional SmartTests covering specific user journeys (via the chrome extension or through scenario descriptions) to expand the test suite.
Specialized Recipes
In addition to the primary recipes, there are specialized agent recipes that focus on specific goals during their explorations. These are all guided by SmartTests (where you can select a folder or test to guide the agent):
Theme Tester
Tests your application across different themes (e.g., light/dark mode) to identify visual inconsistencies and theme-specific issues.
Localization Tester
Tests your application across different locales to identify visual and content issues such as dangling template strings, ambiguous wordings, and locale-specific problems.
Form Validation Tester
Focuses on testing form validation logic and error handling across your application. See the Form Validation Tester recipe page for details.
Policy Tester
(Coming soon) Tests compliance with specific policies and standards.
Common Settings for All Explorations
All explorations share common configuration settings:
Advanced Settings
- Test Creation Config: Configure how tests are created and managed
- Target Screen-State Config: Specify which screen-states to focus on
- Update Screen-State Annotations: Toggle whether to update SmartTest scripts with screen-state annotations after exploration
Limits
- Max Credits: Set the maximum number of explorer credits to consume
- Max Journeys: Set the maximum number of journeys to execute
Release and Model
- Release: Select which release/environment to test
- Model: Choose the AI model to use for the exploration
Depending on the specific recipe selected, there will be additional recipe-specific configurations available.
What All Explorations Do
Regardless of the recipe, all explorations:
- Update the Atlas SiteMap by identifying screens and states, mapping relationships, and tracking navigation pathways
- Tag bugs at screen-state level, providing precise context about where issues occur
- Build knowledge about your application's structure and behavior
Each recipe adds its own specific analysis and behavior on top of these common capabilities.
FAQ
What is a journey?
One SmartTest-guided path through your app; explorations run multiple journeys up to your configured limit.
What are explorer credits?
Credits consume when ExploreChimp analyzes data sources at screen-state changes—typically one credit per source analyzed per new state.
Which recipe should I start with?
Bug Source Analytics when SmartTests exist; Screen-State Discovery when bootstrapping from zero tests.
How do recipes and SmartTests interact?
SmartTests dictate pathways; recipes define what ExploreChimp inspects and prioritizes along those checkpoints.