Manual Testing with Traceability

:::tip Updated workflow Since this post, the extension also supports open-ended sessions (objective instead of scenario), Add bug on steps (deferred until session finish), and Atlas-backed screen/state selection. See the current guide: Manual test session capture. :::
Manual testing is still where teams catch the “this feels wrong” stuff:
- confusing UX
- copy bugs
- edge-case flows
- integration weirdness that doesn’t show up in clean scripted runs
But there’s a persistent problem: manual testing evidence doesn’t stay connected to what was planned.
Test plans live in one place. Notes and screenshots live in another. Pass/fail outcomes live in Slack threads or Jira comments. And the mapping back to the scenario is usually… memory.
Today we’re announcing a new workflow in TestChimp: Manual testing with traceability.
The idea
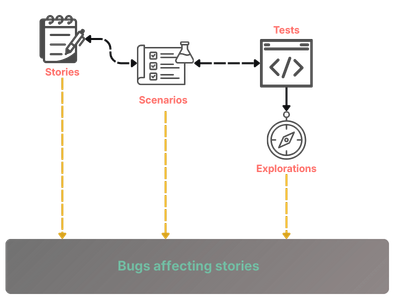
If your team already does test planning (user stories → scenarios), then manual execution should be:
- tied to a specific scenario
- captured as step-by-step evidence
- recorded with environment + release context
- marked passed / failed
- queryable later as execution history (not a dead document)
That’s what this feature does.
Manual Test Session Capture (in the Chrome extension)
In the TestChimp Chrome extension, there’s now a Manual tab.
It lets a tester record a manual session while they execute a planned scenario, with traceability stored directly on the record.
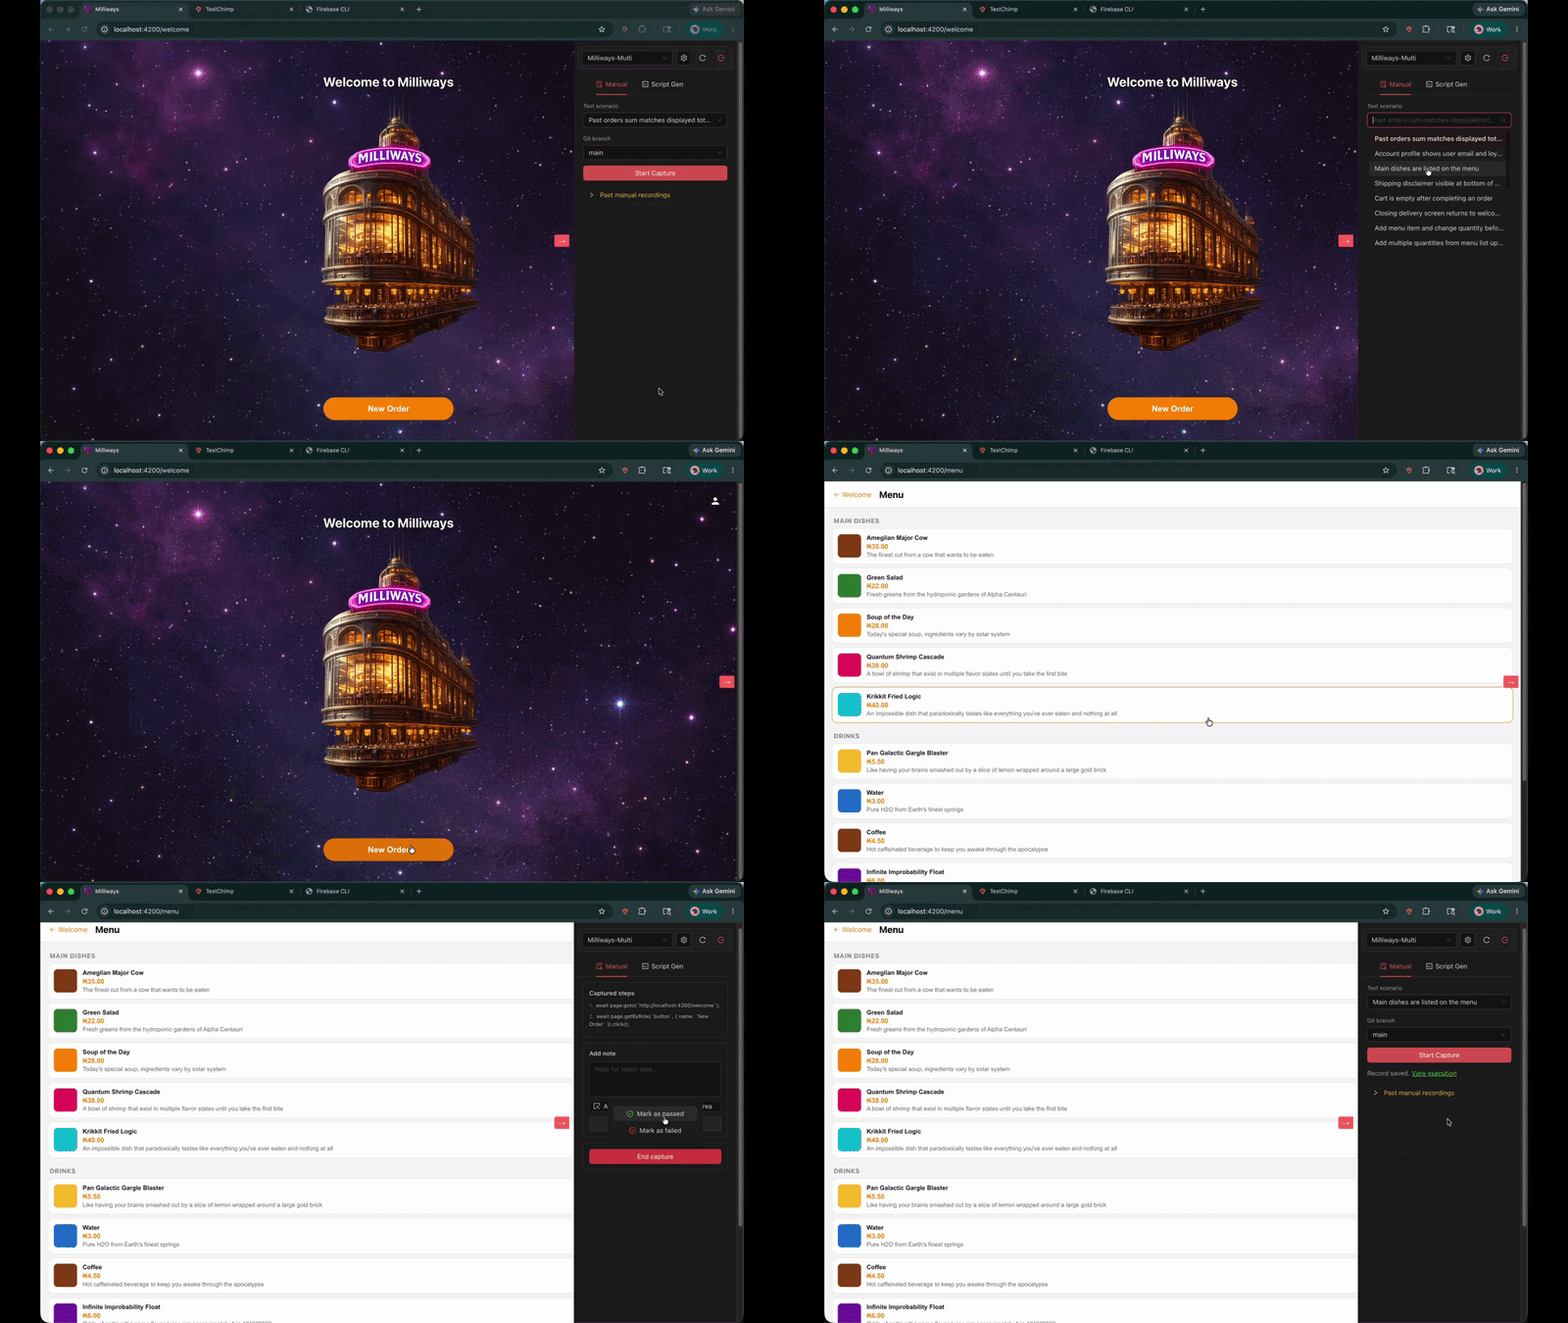
What gets captured:
- Steps: each interaction is captured as a step
- Screenshots: uploaded automatically
- Notes: add notes to the latest step, optionally highlighting a UI element/area
- Outcome: mark the session as passed or failed
- Context: environment + release (and optional git branch context)
How it works (quick walkthrough)
- Open the Chrome extension and switch to the Manual tab
- Click Create Manual Test Record
- Select the test scenario you’re executing (required)
- (Optional) pick the git branch context
- Click Start Capture and run the test as usual
- Add notes when needed (with optional element/area attachments)
- Click End capture, then mark passed or failed
- Open View execution to see the full record in TestChimp
If you want the full documentation, see Manual Test Session Capture.
Why this matters (beyond “we captured a GIF”)
Manual testing isn’t going away. But it needs to stop being unstructured.
With scenario-linked manual records, you can answer real questions without archaeology:
- Which scenarios were manually executed for this release?
- Where are we relying on manual validation because automation doesn’t exist yet?
- What’s the evidence behind a “pass” when something regresses later?
- What’s failing on a specific branch or environment?
It’s manual testing… but operationalized.
Unified coverage: manual + automated, in one view
The bigger win is what happens after you capture manual execution.
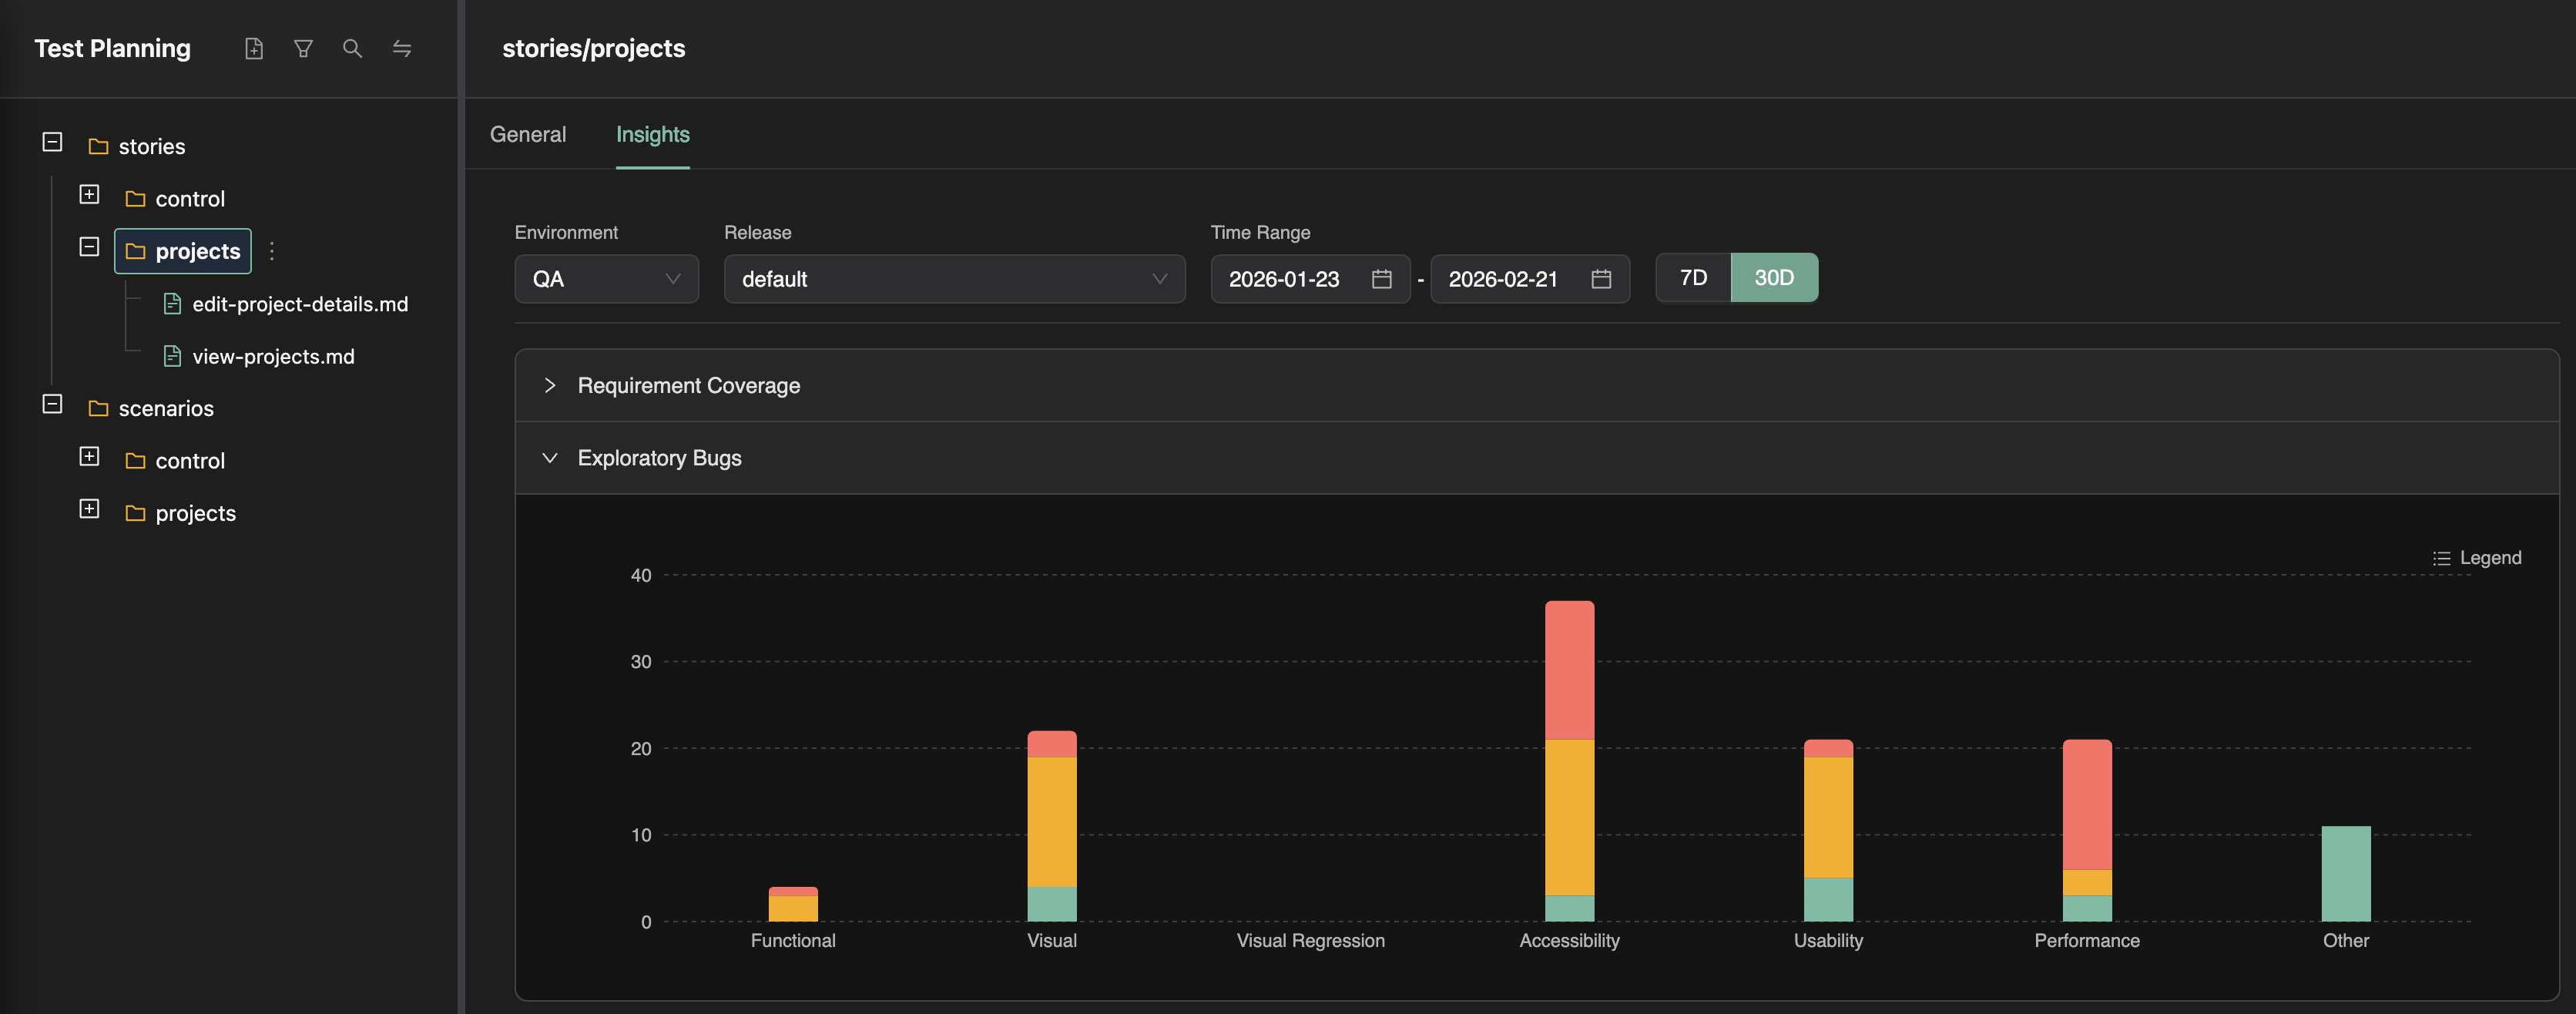
Because manual sessions are linked to the same scenarios as your SmartTests, TestChimp can provide unified requirement coverage insights across:
- Automated runs (SmartTests in CI or in the Web IDE)
- Manual runs (scenario-linked manual sessions with evidence + pass/fail)
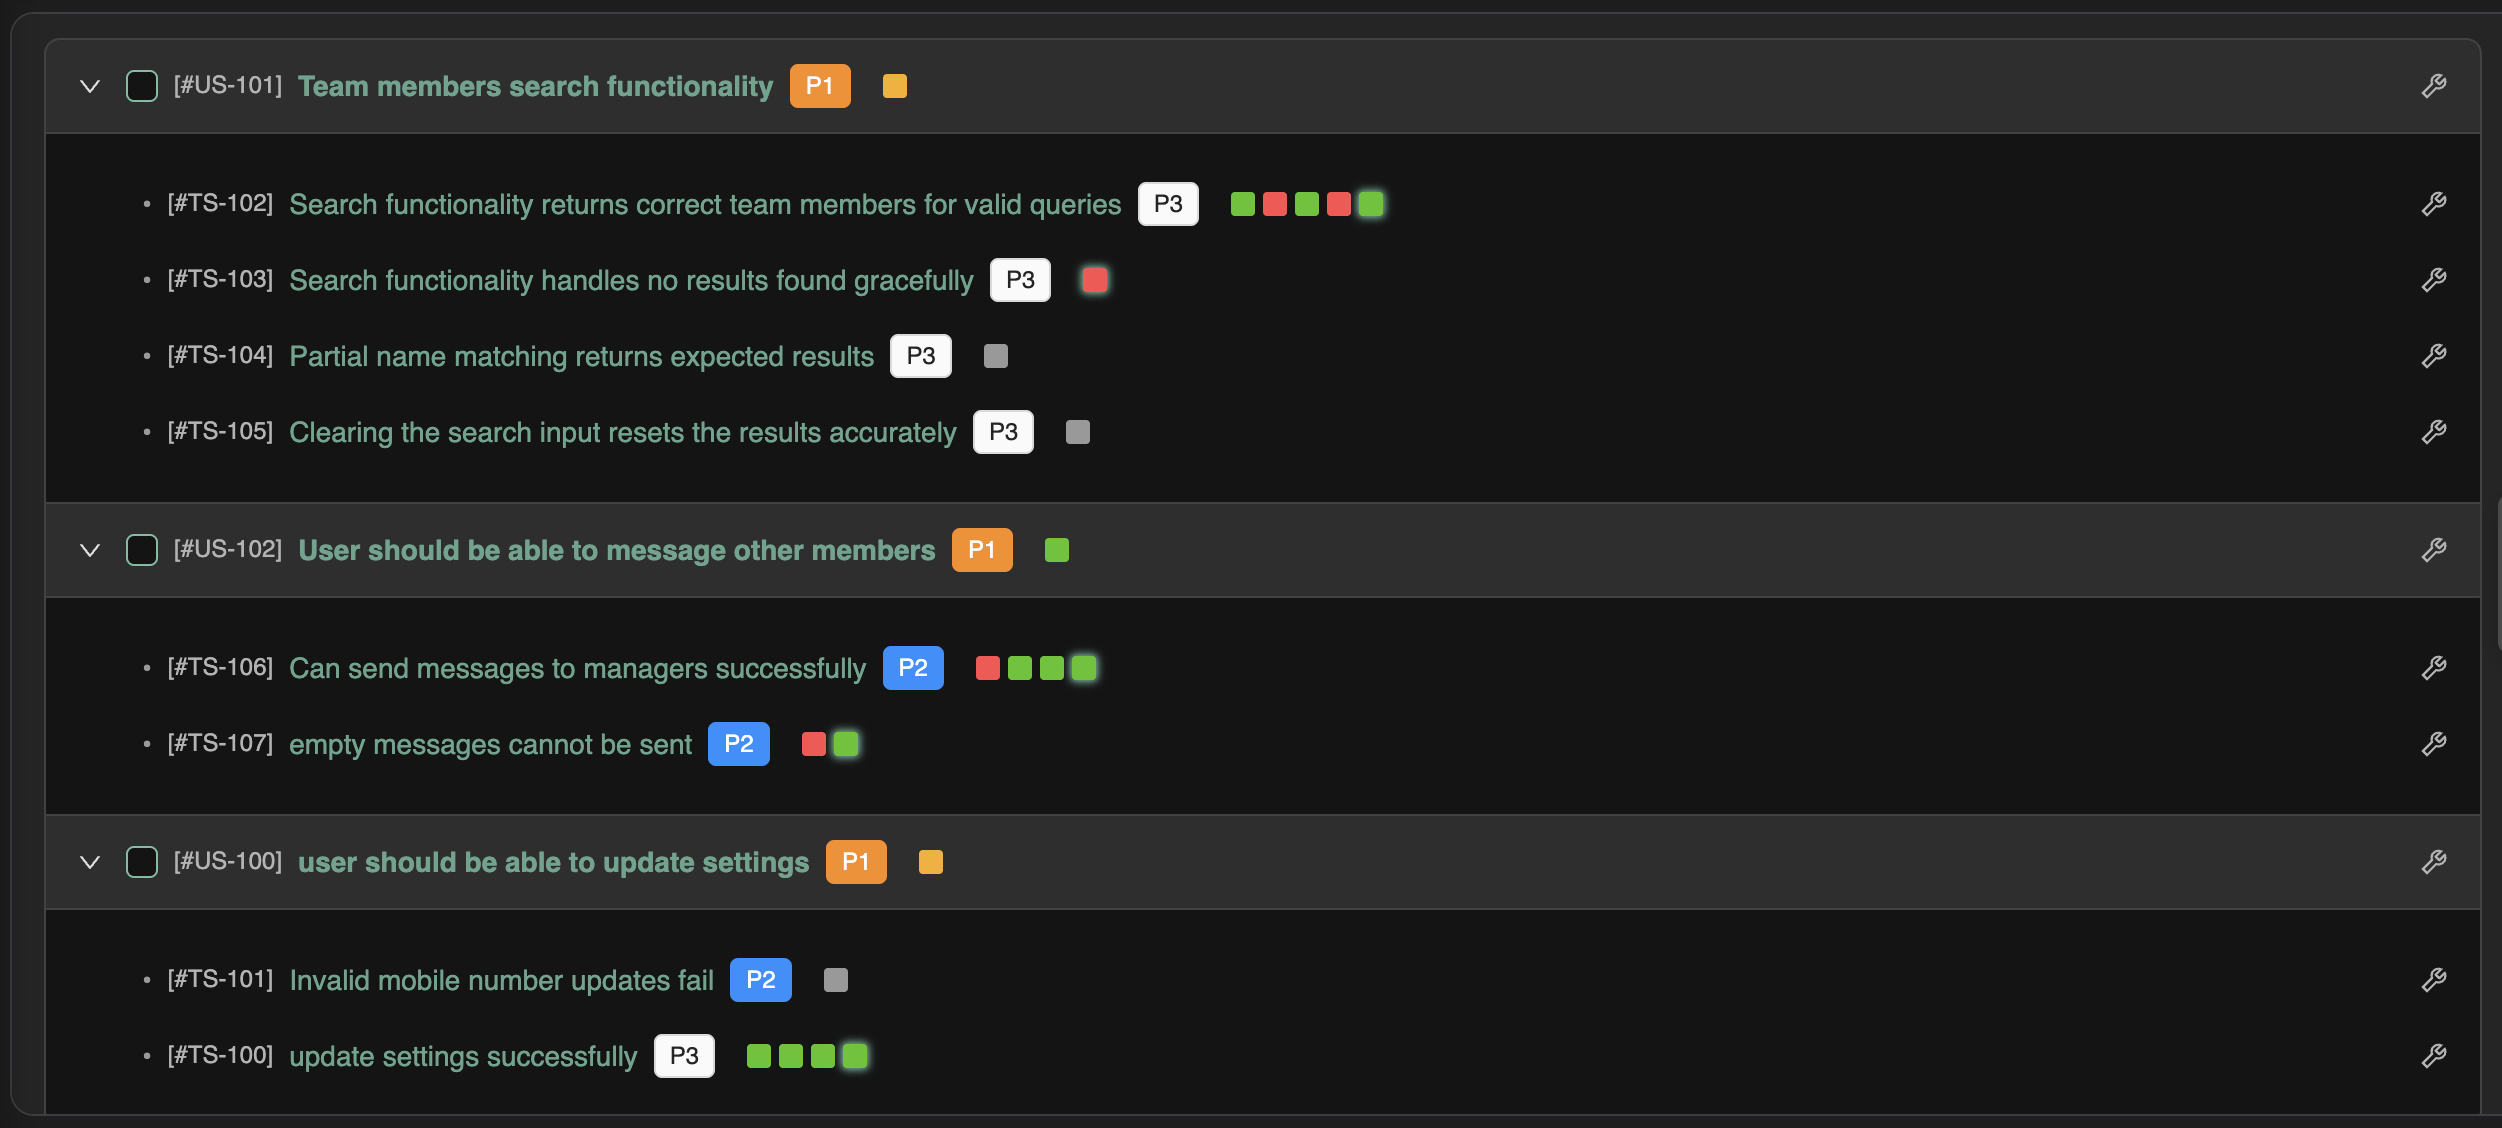
So instead of two separate worlds (a test management tool for manual, and CI dashboards for automation), you get one requirement-centric view:
- scenario coverage status
- recent execution history (pass/fail)
- evidence trail for manual validation
- clear gaps where scenarios have no automated coverage yet
This is the foundation for keeping your suite honest: manual validation is visible and it doesn’t get conflated with “we have automation”.
How coding agents consume this to prioritize test authoring
Once coverage and history are unified at the scenario layer, agents can treat it as an ordered backlog—especially in workflows like /testchimp test (PR-level) and /testchimp evolve (portfolio-level).
In practice, the agent pulls:
- Requirement coverage (what scenarios are covered vs missing tests)
- Execution history (what’s failing or flaky right now)
- (Optionally) TrueCoverage signals (what real users do most, where they drop off)
Then it prioritizes authoring work where it has the highest leverage:
- uncovered high-priority scenarios first
- gaps in the exact folder/feature area the team owns
- high-traffic paths with low coverage (when TrueCoverage is enabled)
The end result is a tighter loop: manual + automated executions feed the same insights, and those insights drive agents toward the most important missing tests—rather than “write more tests” as a generic goal.
Manual capture vs SmartTest authoring
Manual capture creates an auditable execution record (pass/fail, notes, screenshots). To turn that session into a Playwright SmartTest, use Copy test generate prompt after capture and paste it into your TestChimp-skilled agent (creating SmartTests from the browser).
Try it
- Install the Chrome extension
- Plan scenarios in Test Planning
- Run your next manual regression session through the extension
If you have feedback on what would make manual execution records more useful (branch/release filtering, richer notes, better rollups), we’re actively iterating.