Exporting Test Plan to Git
In brief: TestChimp bi-directionally syncs markdown plans to your mapped Git folder so agents, developers, and the web app always share the same requirement artifacts.
Overview
TestChimp's Export to Git feature allows you to sync your test planning artifacts (user stories and test scenarios) to your connected GitHub or GitLab repository. This keeps your test plan alongside your codebase, enabling version control, code review workflows, and seamless access for AI coding agents.
How It Works
The Export to Git feature:
- Compares local and remote: Identifies new and modified files
- Shows a diff view: Displays exactly what will change
- Creates a merge request: Raises an MR/PR with all changes for review
This is a one-way export from TestChimp to your repository. Changes made directly in the repository are not imported back into TestChimp.
:::note Why One-Way Export? TestChimp maintains stable IDs for workflow management, status tracking, and requirement traceability. These IDs are stored in the platform and referenced in frontmatter. A two-way sync would risk ID conflicts and data integrity issues, so we've chosen a reliable one-way export model. :::
Configuration
Before using Export to Git, you need to configure the integration:
Step 1: Connect your code repository
- Navigate to Project Settings → Integrations
- Connect GitHub (GitHub App) or GitLab (project access token + webhook)
- Select the repository to connect
Step 2: Configure folder mapping
Map TestChimp folders to repository paths under your Plans mapping (see Code Repository — Overview):
| TestChimp content | Repository path (under plans root) |
|---|---|
| User stories | e.g. plans/stories/ |
| Test scenarios | e.g. plans/scenarios/ |
This tells TestChimp where to place the exported files in your repository.
Step 3: Verify Configuration
The configuration panel shows:
- Connected repository name
- Mapped folder paths
- Last export timestamp (if any)
Using Export to Git
Starting an Export
- Navigate to Test Planning
- Click the Import/Export button in the explorer toolbar
- Select Sync to Git Repo
- TestChimp analyzes your files and compares with the repository
The Diff View
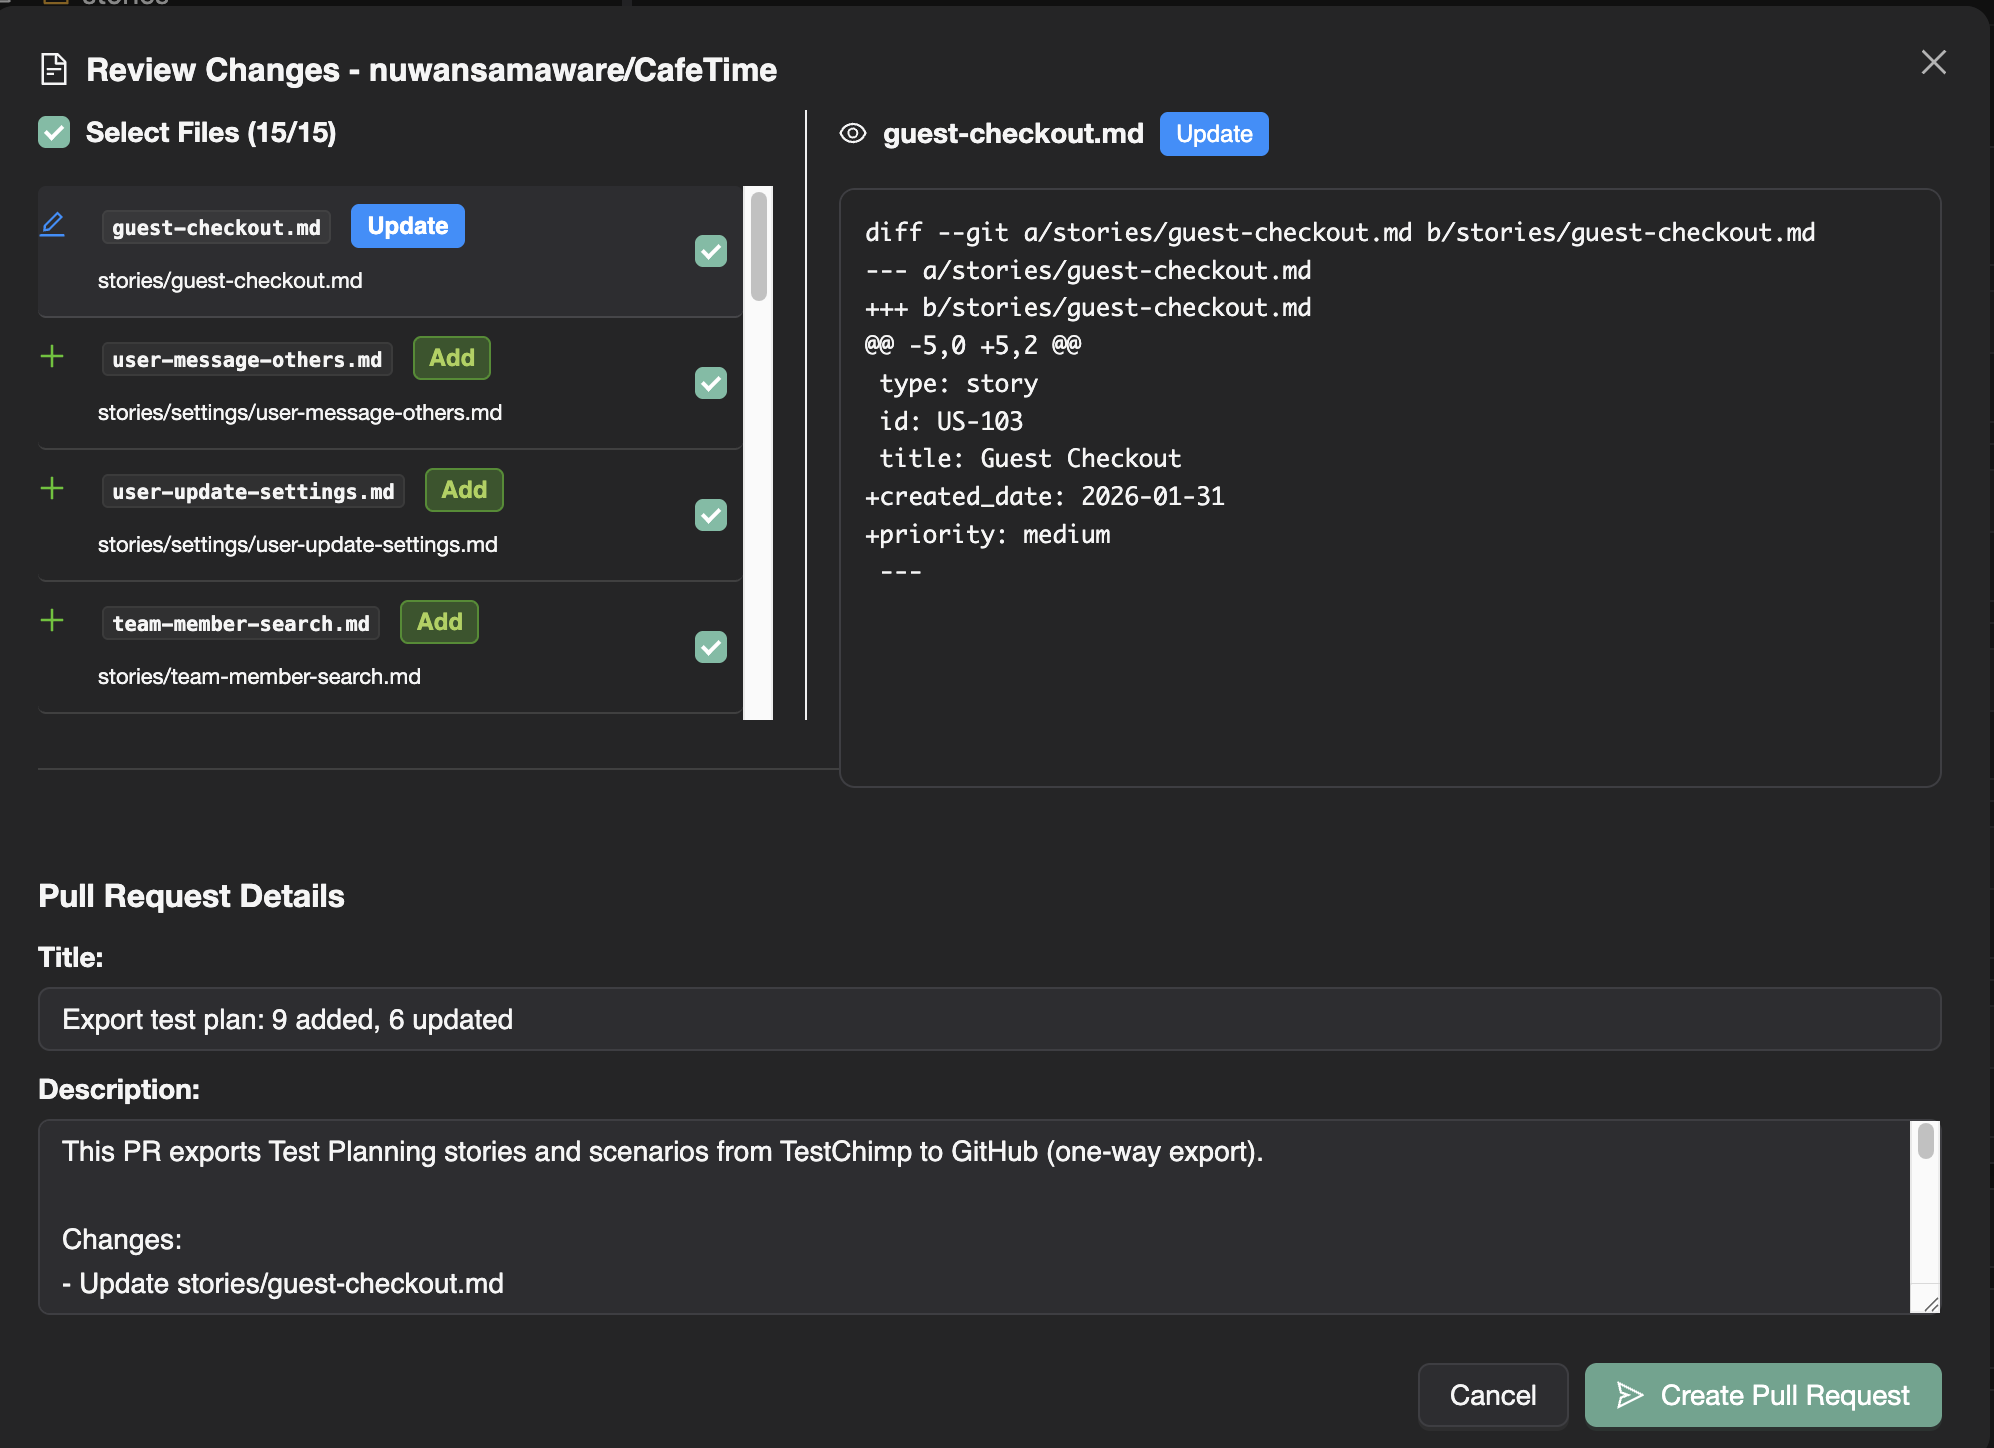
After analysis, you'll see a diff comparison showing:
- Added files: New stories or scenarios not yet in the repository
- Modified files: Existing files with changes
- Unchanged files: Files that are already in sync (not shown)
For each file, you can:
- View the full diff (additions in green, deletions in red)
- See the file path in the repository
- Review the content that will be committed
Creating the Pull Request
- Review all changes in the diff view
- Edit the PR title and description if needed
- Click Create Pull Request
- TestChimp:
- Creates a new branch
- Commits all changes
- Opens a pull request against your default branch
After the merge request is created
- A link to the MR/PR is displayed
- Review the change in GitHub or GitLab as you would any code change
- Merge when ready
- Your test planning artifacts are now in your codebase
File Format in Repository
Exported files maintain the markdown format with frontmatter:
User Story Example
---
id: us-123
title: User Login with Email
priority: high
status: approved
labels:
  - authentication
  - core-flow
created_at: 2024-01-15T10:30:00Z
updated_at: 2024-02-01T14:22:00Z
---

## Description

As a registered user, I want to log in using my email and password
so that I can access my personalized dashboard.

## Acceptance Criteria

- Email field validates proper email format
- Password field masks input
- Invalid credentials show clear error message
- Successful login redirects to dashboard
Test Scenario Example
---
id: ts-456
title: Login - Invalid Credentials Error
priority: high
status: ready
linked_story: us-123
labels:
  - authentication
  - negative-test
---

## Description

Verify that invalid login credentials display an appropriate error message.

## Preconditions

- User account exists with known credentials
- User is not logged in

## Test Steps

1. Navigate to login page
2. Enter valid email
3. Enter incorrect password
4. Click Login button

## Expected Results

- Error message "Invalid email or password" is displayed
- User remains on login page
- Password field is cleared
Repository Structure
After export, your repository will have:
docs/test-planning/           # Or your configured path
├── stories/
│   ├── authentication/
│   │   ├── login.md
│   │   ├── registration.md
│   │   └── password-reset.md
│   └── billing/
│       ├── subscription.md
│       └── payment.md
└── scenarios/
    ├── authentication/
    │   ├── login-success.md
    │   ├── login-invalid-creds.md
    │   └── registration-validation.md
    └── billing/
        ├── add-payment.md
        └── upgrade-plan.md
Best Practices
Export Regularly
- Export after significant changes to your test plan
- Consider exporting at the end of each sprint
- Export before major releases for documentation
Use Meaningful Commit Messages
The default PR title summarizes changes, but you can:
- Add context about why changes were made
- Reference related issues or tickets
- Note any breaking changes to test structure
Review Before Merging
Even though TestChimp generated the content:
- Review the diff for accuracy
- Ensure folder structure is correct
- Verify no sensitive data is included
- Check that formatting is consistent
Coordinate with Team
- Inform the team when exporting
- Avoid conflicting exports from multiple team members
- Establish a cadence (e.g., weekly exports)
Troubleshooting
"Repository authentication expired"
Re-connect your provider in Project settings → Integrations (GitHub or GitLab).
"Repository not configured"
Set up the repository and folder mappings in Project Settings → Integrations.
"No changes to export"
All files are already in sync with the repository. Make changes in TestChimp and try again.
Large number of changes
If exporting for the first time, expect many "added" files. This is normal for initial sync.
Limitations
- One-way export from TestChimp UI: The Test Planning export flow pushes platform changes to Git via merge request; inbound plan updates rely on repository webhooks (see provider guides), not a manual “import” button in Test Planning
- GitHub or GitLab: Connect one provider per project (GitHub, GitLab)
- Merge request workflow: Creates MRs/PRs rather than direct commits (for safety)
- Single repository: Each project connects to one repository
Next Steps
With your test plan in Git:
- Set up code review: Have team members review test plan PRs
- Enable branch protection: Require reviews before merging
- Access from AI agents: Point your coding assistants to the test plan folder
- Track changes over time: Use git history to see test plan evolution
FAQ
Which direction does sync flow?
Changes in TestChimp push to Git; commits to the plans/ folder can be pulled back so IDE edits appear in the web app.
What folder should I map?
Typically plans/ at repo root—configured in project Git settings alongside your SmartTests folder mapping.
Do I need export for agents to read plans?
Git sync is required so /testchimp test and MCP tools read the same markdown Claude sees in the repository.