Screen-State Discovery Recipe
In brief: Screen-State Discovery logs in with provided credentials, maps major app states autonomously, and generates starter SmartTests ExploreChimp can guide on future runs.
The Screen-State Discovery recipe is the primary recipe when there are no SmartTests present in your project. This recipe helps you get started quickly by automatically discovering key screen-states in your application and building a starter test suite.
Overview
This recipe uses user-provided test credentials to login to the target webapp and navigates autonomously to identify key screen-states in the app. The objective is to build a "Starter" test suite that can be used by ExploreChimp for subsequent targeted explorations.
What This Recipe Does
During explorations using this recipe, ExploreChimp:
- Logs into your application using provided test credentials
- Discovers navigation options by analyzing the initial screen and identifying available navigation paths
- Explores each discovered screen to identify different states
- Generates SmartTest files for each discovered screen-state, creating a starter test suite
- Builds and updates the Atlas with discovered screens and states
- Creates a login test (if credentials are provided) that can be reused for future explorations
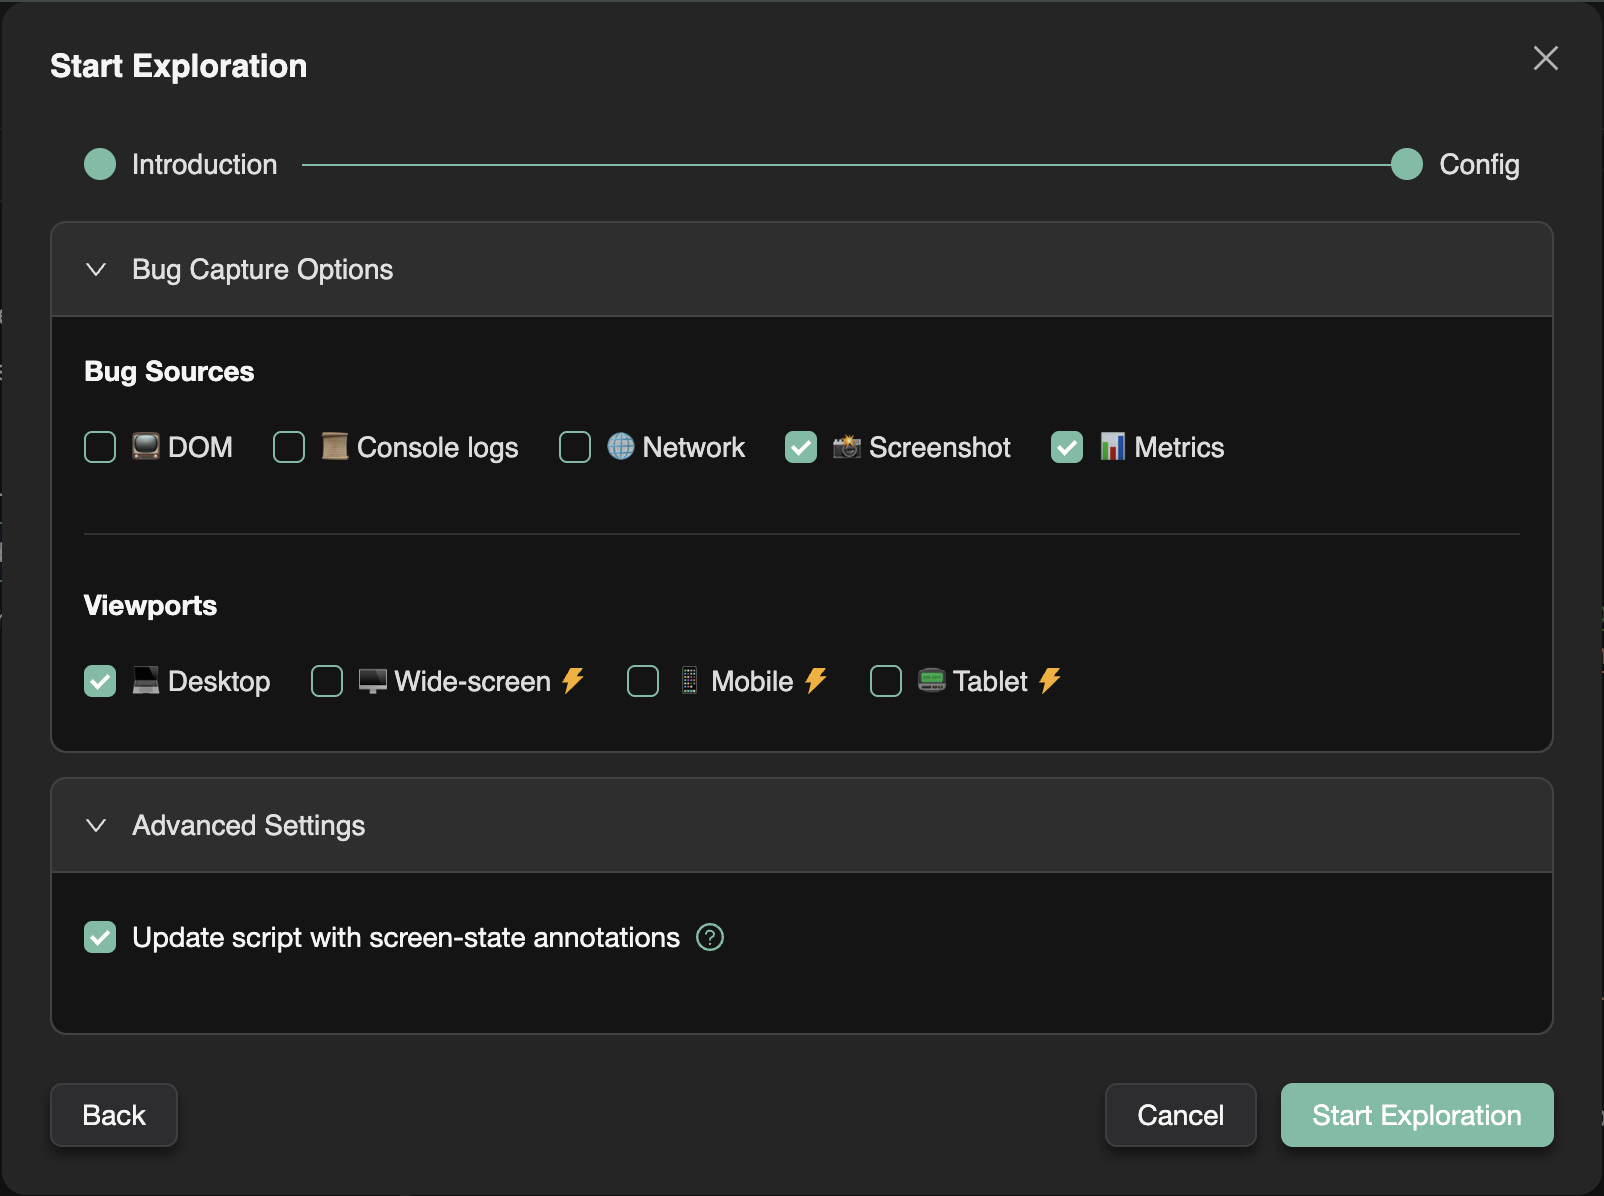
Configuration
When using the Screen-State Discovery recipe, you need to configure:
Required Settings
- Starting URL: The URL where the exploration should begin (typically your application's login page or home page)
Optional Settings
- Login credentials and test inputs: Provide login credentials and other test inputs needed for authentication (e.g., "username: testuser, password: testpass")
How It Works
- Initial Navigation: ExploreChimp starts at the provided starting URL
- Login (if credentials provided): If login credentials are provided, ExploreChimp logs into the application
- Navigation Discovery: The agent analyzes the current screen to discover available navigation options (links, buttons, menu items, etc.)
- Per-Screen Exploration: For each discovered navigation option, ExploreChimp:
- Navigates to that screen
- Explores different states within that screen
- Generates SmartTest files for discovered screen-states
- Test Suite Generation: All discovered screen-states are saved as SmartTest files, creating your starter test suite
Generated Test Files
The recipe generates:
- Login test (if credentials provided): A reusable test for logging into your application
- Screen-state tests: Individual test files for each discovered screen-state
These tests can be used:
- As a foundation for your test suite
- To guide subsequent explorations using other recipes
- As a starting point for creating more detailed user journey tests
When to Use This Recipe
Use the Screen-State Discovery recipe when:
- You're just getting started with TestChimp and don't have any SmartTests yet
- You want to quickly build initial test coverage for your application
- You want to discover the structure of your application automatically
- You want to create a starter test suite that you can expand upon
After running this recipe, you can:
- Create additional SmartTests covering specific user journeys (via the chrome extension or through scenario descriptions)
- Use the generated tests to guide subsequent explorations with other recipes (like Bug Source Analytics)
- Expand the test suite manually to cover specific workflows
Next Steps
After the Screen-State Discovery recipe has created your starter test suite:
- Review the generated SmartTest files
- Use the Chrome Extension or SmartTest creation tools to add more specific user journey tests
- Run explorations using the Bug Source Analytics recipe to find bugs in your application
FAQ
Who is this recipe for?
Teams new to TestChimp without SmartTests yet who need a fast path to structured journeys and Atlas coverage.
What credentials are required?
Valid test user login the agent uses to navigate and identify stable screen-states safely in non-production.
What happens after discovery?
Expand starter tests via Chrome extension, /testchimp test, or scenario authoring—then switch to Bug Source Analytics.